

Write what you are looking for and press enter to begin your search!
Live News

Resident Evil 2 Guide: How To Enjoy This Scary REmake
 ">
">
By KakuchopureiVerified|January 30, 2019|0 Comment
Resident Evil 2 is out, and it’s getting rave reviews (ours including). If you’re planning on taking a trip down to a zombie-infested Raccoon City as either a rookie cop or a biker girl, there’s no better time than now!
Here are a few tips & tricks to maximize your fun and playthrough.
After you die a few times, Resident Evil 2 will ask if you want to play the “assisted” mode. It adds aim-assist, weakens the enemies, and gives the protagonists some minor health regeneration.
Don’t do this; part of the fun of RE is playing it on normal difficulty. Since the game is all about struggling for survival, you should push on through. Besides, it’s a step up from the original RE2’s tank controls.
Resident Evil 2Â is a dark game, and rightly so because it adds chill and suspense to where you’re going and what you might approach in the depth. But if your TV is pretty old and its default brightness setting is borked, it doesn’t hurt to tweak it just a teensy bit.
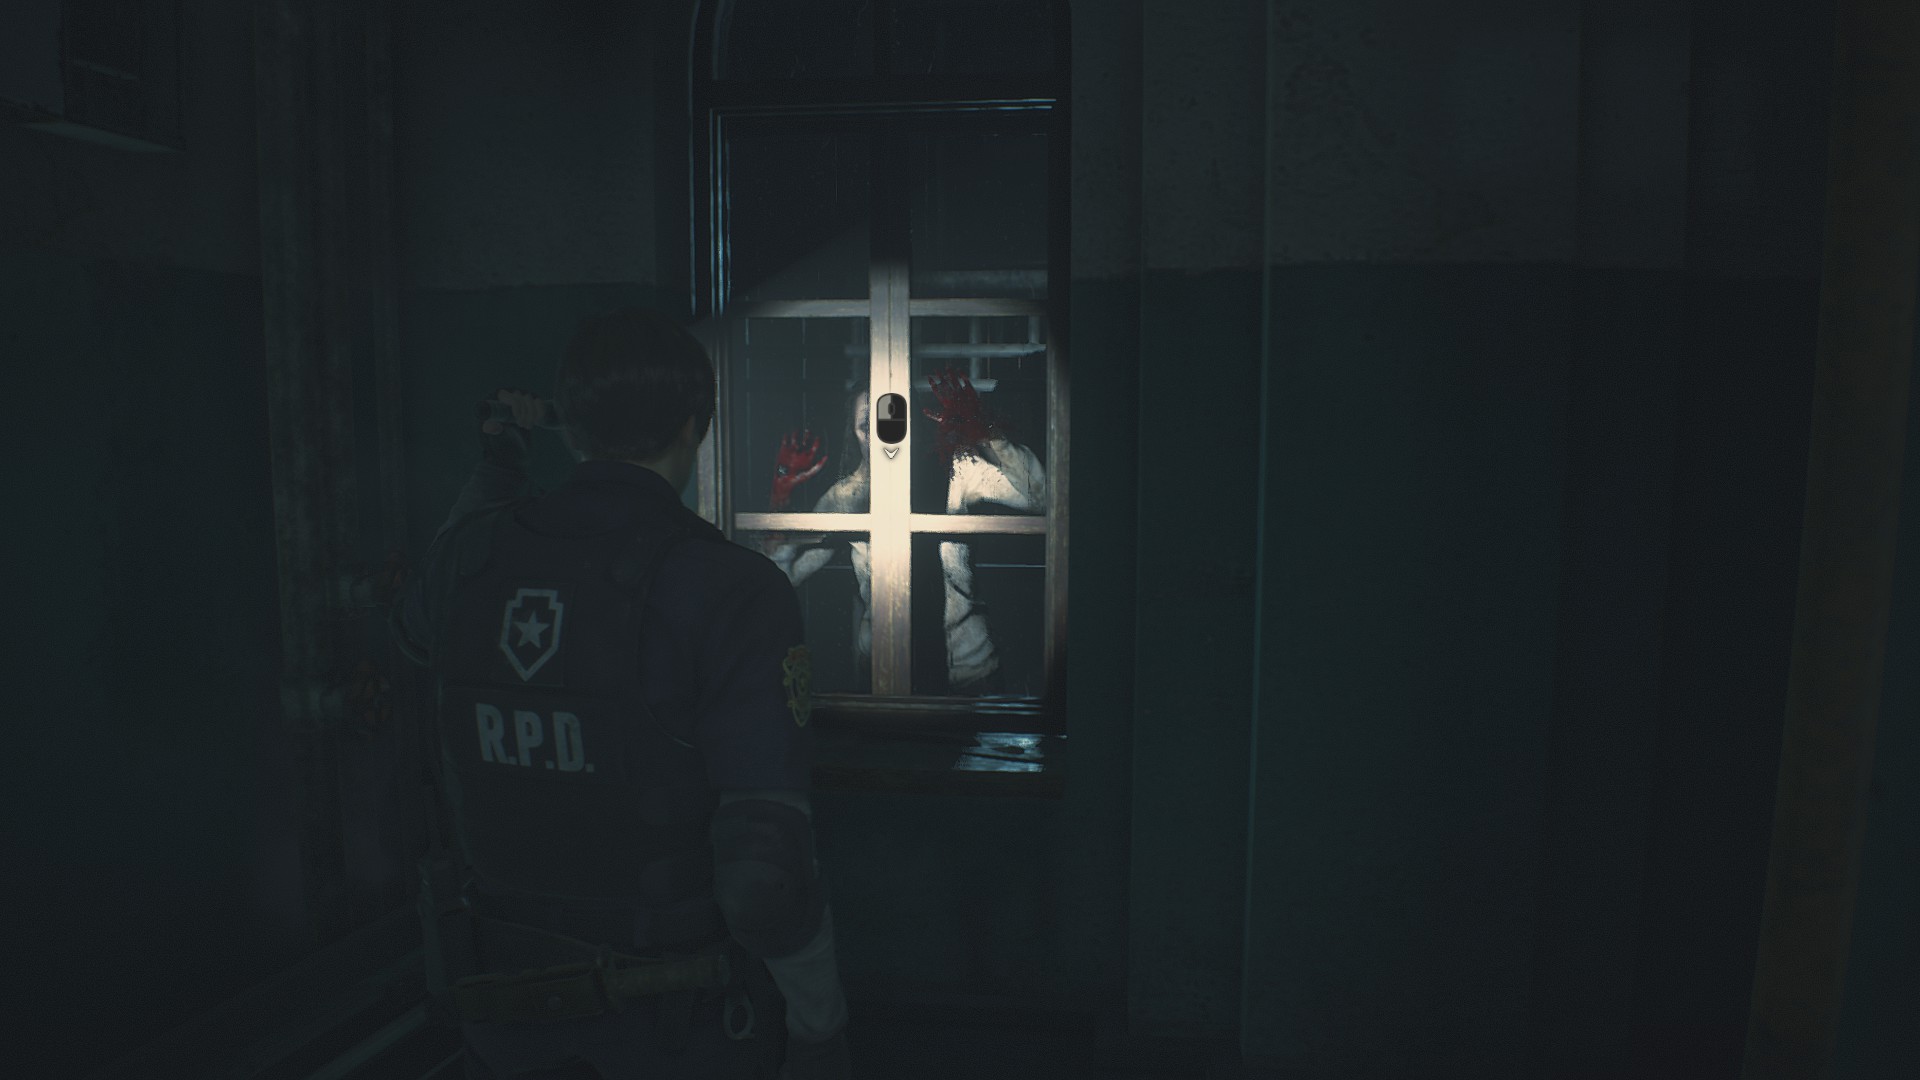
There is no “right” way to play the game. Both Leon Kennedy and Claire Redfield have access to different weapons and story moments. You’ll be playing the other character in your second playthrough anyway, so just enjoy the ride.
Thankfully, you don’t need ink ribbons to save your game. Don’t be afraid to save if you need to take a break or if you snagged a new item or weapon. Sure, it’ll affect your game ranking, but that’s something you shouldn’t worry about on your first playthrough.
If you really need to stock up on weapons and crafting materials, you need to check out every corner. Yes, even the ones with tons of zombies in it.
The map isn’t simply good at helping you find a specific room. It’s also good for knowing what else you need to explore. Red rooms still have items in them. If you’re looking for a key or unsure of where to go next, try heading for rooms you haven’t cleared.
You’ll find gunpowder throughout Raccoon City, which you can combine to make bullets and other types of ammo. It’s tempting to stockpile this for when you “need†it or want to make special ammo. But the truth is that Resident Evil 2 is so generous with these materials that you’re better using them as you progress and having ammo right away. Even if you’re twitchy, you’ll have tons of bullets and even grenade launcher ammo by the end.
Even if it looks like garbage, it isn’t. If you have the inventory room, take it. If you don’t know what to do with it, store it in an item box and use it when you do.
More than most games in the series, Resident Evil 2 likes to hide items within items. If you find a book, go into your menu and open it. That badge you found? There’s a button on the back that totally changes what it does. Examine everything you find to make sure you’re not missing a puzzle solution or key item.
Some keys and special items are useless once they’ve unlocked all their corresponding doors. If you look in your inventory and see a red X over the item, select it and choose “discard”. You’ll free up coveted inventory space that you can use for ammo and other goodies.
Herbs can be combined for a variety of useful effect. The most standard combination is Green+Red, which creates a mixture that will heal you to full health. You can also combine Blue with Red to get rid of poison and gain temporary resistance to status effects. If you combine all three colours, you’ll gain a bonus to defence. Know your combinations and use them wisely to heal quickly or prepare for boss fights.
While puzzles change on your second character’s playthrough, safe combos stay the same. Write it down somewhere and use it later to save yourself some hassle.
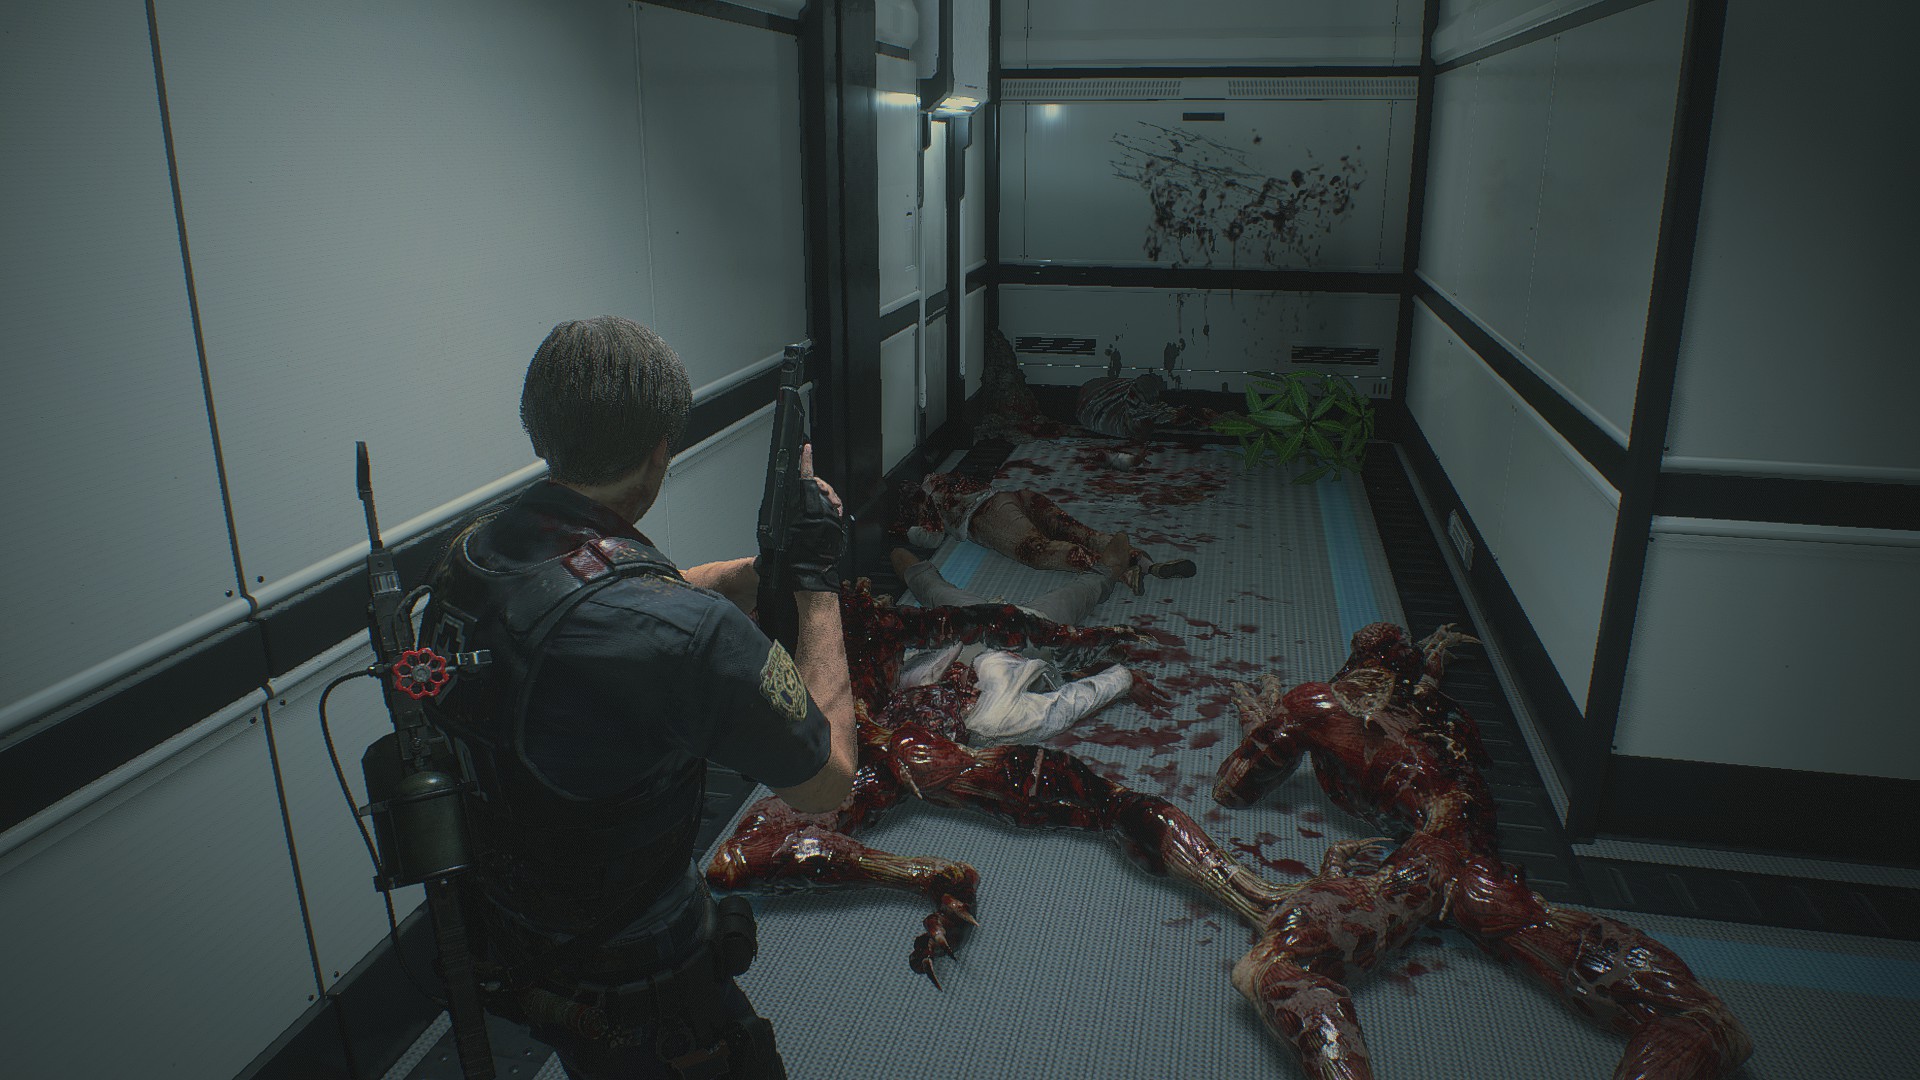
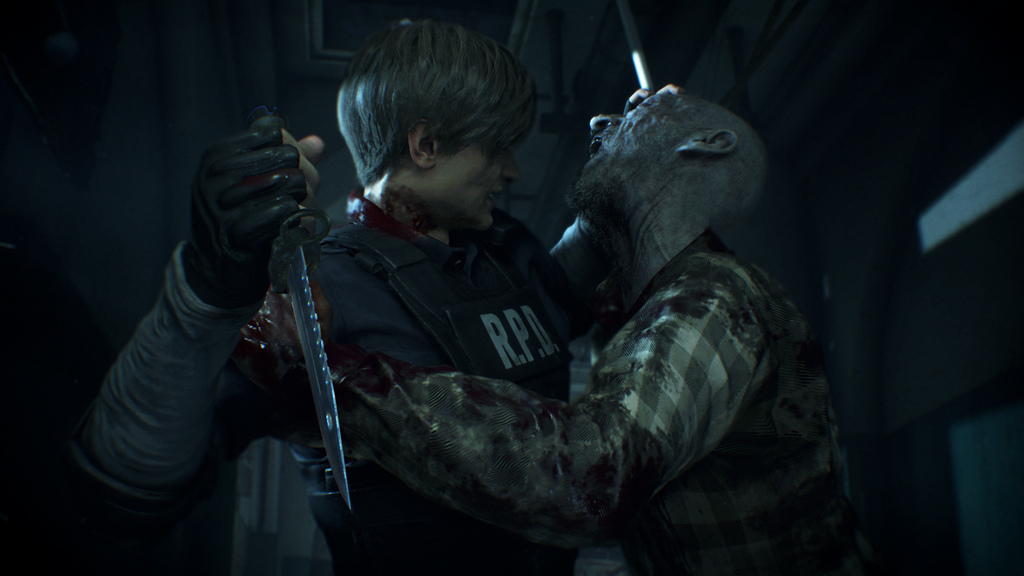
They might be able to take a beating but you actually have a lot of ways to deal with zombies. Shooting them in the head (multiple times) can put them down quickly, but if you don’t have the ammo you can also shoot or knife them in the kneecap and run past them when they fall.
Unless you manage to blow a zombie’s head off, there’s a chance that they’ll get up again even after you’ve “killed” them. Defeating them enough times will stop them from reviving but you should always be dealing with corpses to avoid getting caught off guard.
This changes depending on your console but if you press down and O on the PS4 controller, you’ll do a quick turn. It’s good for getting away from zombies, and you should get comfortable using it.
Knives are incredibly useful, and you should always carry one. Not only can they be used to escape an enemy’s clutches, but you can also slash at zombies when they fall to do extra damage. For extra effect, slash their arms. You can cut them right off, preventing them from grabbing you in the future.
Eventually, you’ll find zombies infested with mutant plantlife. You can temporarily dispatch them by shooting weak points but if you have the flamethrower or incendiary grenades for your launcher, you can burn them to a crisp to keep them from getting up. If they’re black and shrivelled, it means they’re down for the count.
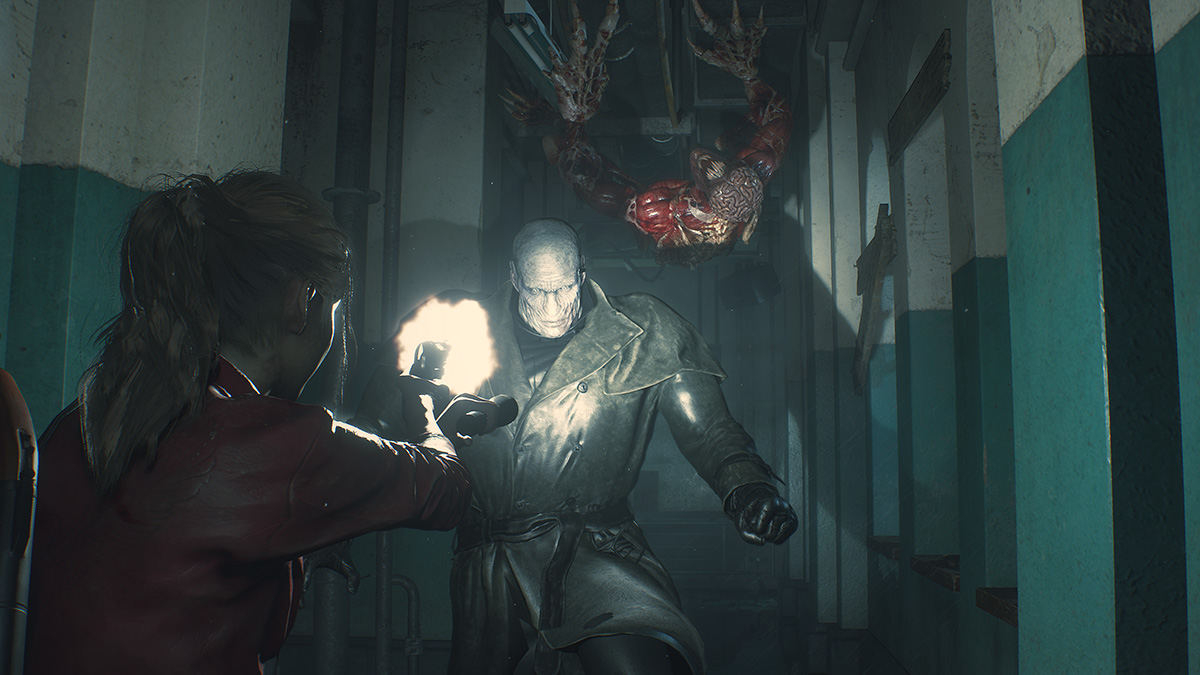
Unless you’re caught in a dead end, there’s no need to waste ammo on Mr. X, the massive and mostly invincible Tyrant that stalks you throughout the game. If you’re in a tight spot, try to bait a punch of out him and dodge around. Just run away and, once you’ve lost him, go back to wherever you need to be.
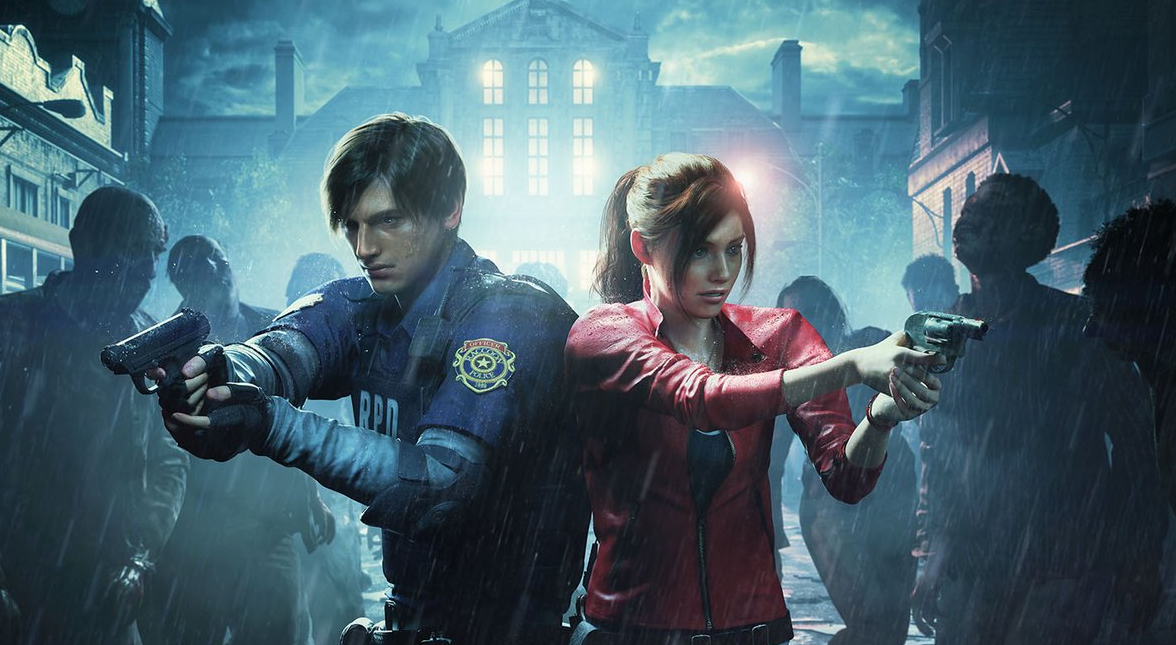
After you complete the game with one character, you unlock a “2nd” story route for the other. You need to play this in order to get the real ending. The second story hits all of a character’s plot beats but revamps some of the puzzles and enemy placement for a sort of ROM hacked experience. This is what you want to play if you want to actually finish the story.
Yes, if you play this game long enough, you’ll know that you don’t need to kill enemies to survive. Unless they’re in a room with a puzzle, in which case you need to deal with them. You can run away from most of them; the game is built for this since you can only get the highest ranking if you finish the game in less than 3 hours.

The Tyrant will bash through the Press Room wall and create a shortcut from the Interrogation/Observation Room hallway to the Press Room. This happens seemingly randomly, as he can do it, then, when you reload the same save, he might not do it again.
You’ll see a note stuck on Leon’s desk, telling you his new colleagues have locked it and the solution is their initials. What might throw you off is the fact that police call each other by their surnames, but need to use their forename.
You figure this out by looking at the other police desks to the right and checking out the name cards: Marvin Branagh (M), Rita Phillips (R), and then George Scott (G), whose name plaque has been knocked onto the floor.
The logic is exactly the same as the last one, with David Ford (D), and Elliot Edward (E) giving you two of the three solutions, but you have to enter the names the other way around to make NED.
If you’re playing as Leon, you’ll get a High Capacity Magazine for your pistol. If you’re playing as Claire, you get a Speed Reloader for your revolver.
Unlocking these will give you spare keys for the keypad in the Safety Deposit Room, allowing you to get a Hip Pouch and a bunch of consumables. Here’s where you can find them:
To solve these, you need to click the buttons so they trigger the lights in a counter-clockwise sequence. It doesn’t matter where you start, so long as the next light from the button you press is next to the one you just triggered. You can’t fail these, so just have a play around until you see which button controls which lights, then work out the best sequence.
Shooting all 14 of them will net you the Unbreakable Combat Knife. That’s pretty handy: here’s where to find them all (via VG247)

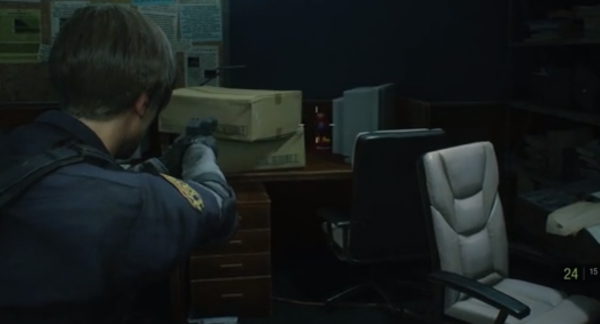


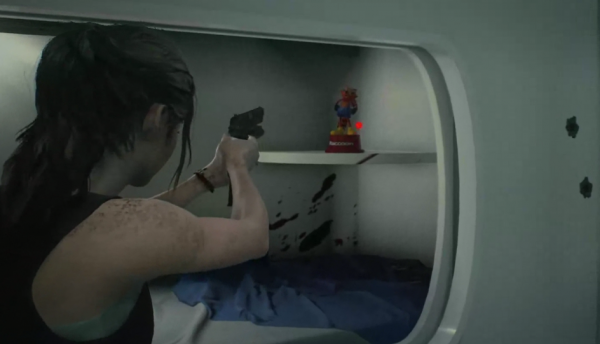

The following Mr. Raccoon statues can be found while playing as Leon only:


You can find the next lot of Mr. Raccoon statues while playing as Claire only:


The last Mr. Raccoon can only be found during the B playthrough of Resident Evil 2 Remake. When you reach the entrance to the first floor, turn right and head down the stairs. You’ll find the final Mr. Raccoon in the garden bed beside a vase.


By Alleef AshaariVerified|May 21, 2022
China-based game developer and publisher NetEase Games recently held their NetEase Connect 2022 on 21 May 2022. The live-streamed event was hosted by ...

By Syazwan Bahri|April 19, 2019
Sony recently spilt some beans on the hardware used in their next-generation console, which, according to all the previous PlayStation naming schemes,...

By KakuchopureiVerified|November 22, 2019
You knew it was coming. After all, we did a bunch of features about the best and the worst Pokémon in all the generations of this PG-rated imagina...

By Kakuchopurei|April 2, 2025

By Kakuchopurei|March 31, 2025

By Jonathan Toyad|March 28, 2025

By Jonathan Toyad|March 20, 2025

By Jonathan Toyad|March 12, 2025

By Lewis Larcombe|February 25, 2025

By Kakuchopurei|February 17, 2025

By Ali'sha Harris|February 16, 2025

By Jonathan Toyad|April 2, 2025

By Jonathan Toyad|April 1, 2025

By Kakuchopurei|April 2, 2025

By Kakuchopurei|March 31, 2025

By Jonathan Toyad|March 28, 2025

By Jonathan Toyad|March 20, 2025

By Jonathan Toyad|March 12, 2025

By Lewis Larcombe|February 25, 2025

By Kakuchopurei|February 17, 2025

By Kakuchopurei|April 2, 2025

By Kakuchopurei|March 31, 2025

By Jonathan Toyad|March 28, 2025

By Jonathan Toyad|March 20, 2025

By Jonathan Toyad|March 12, 2025

By Lewis Larcombe|February 25, 2025

By Kakuchopurei|February 17, 2025

By Ali'sha Harris|February 16, 2025
Copyright @ Kakuchopurei 2025