

Write what you are looking for and press enter to begin your search!

Live News
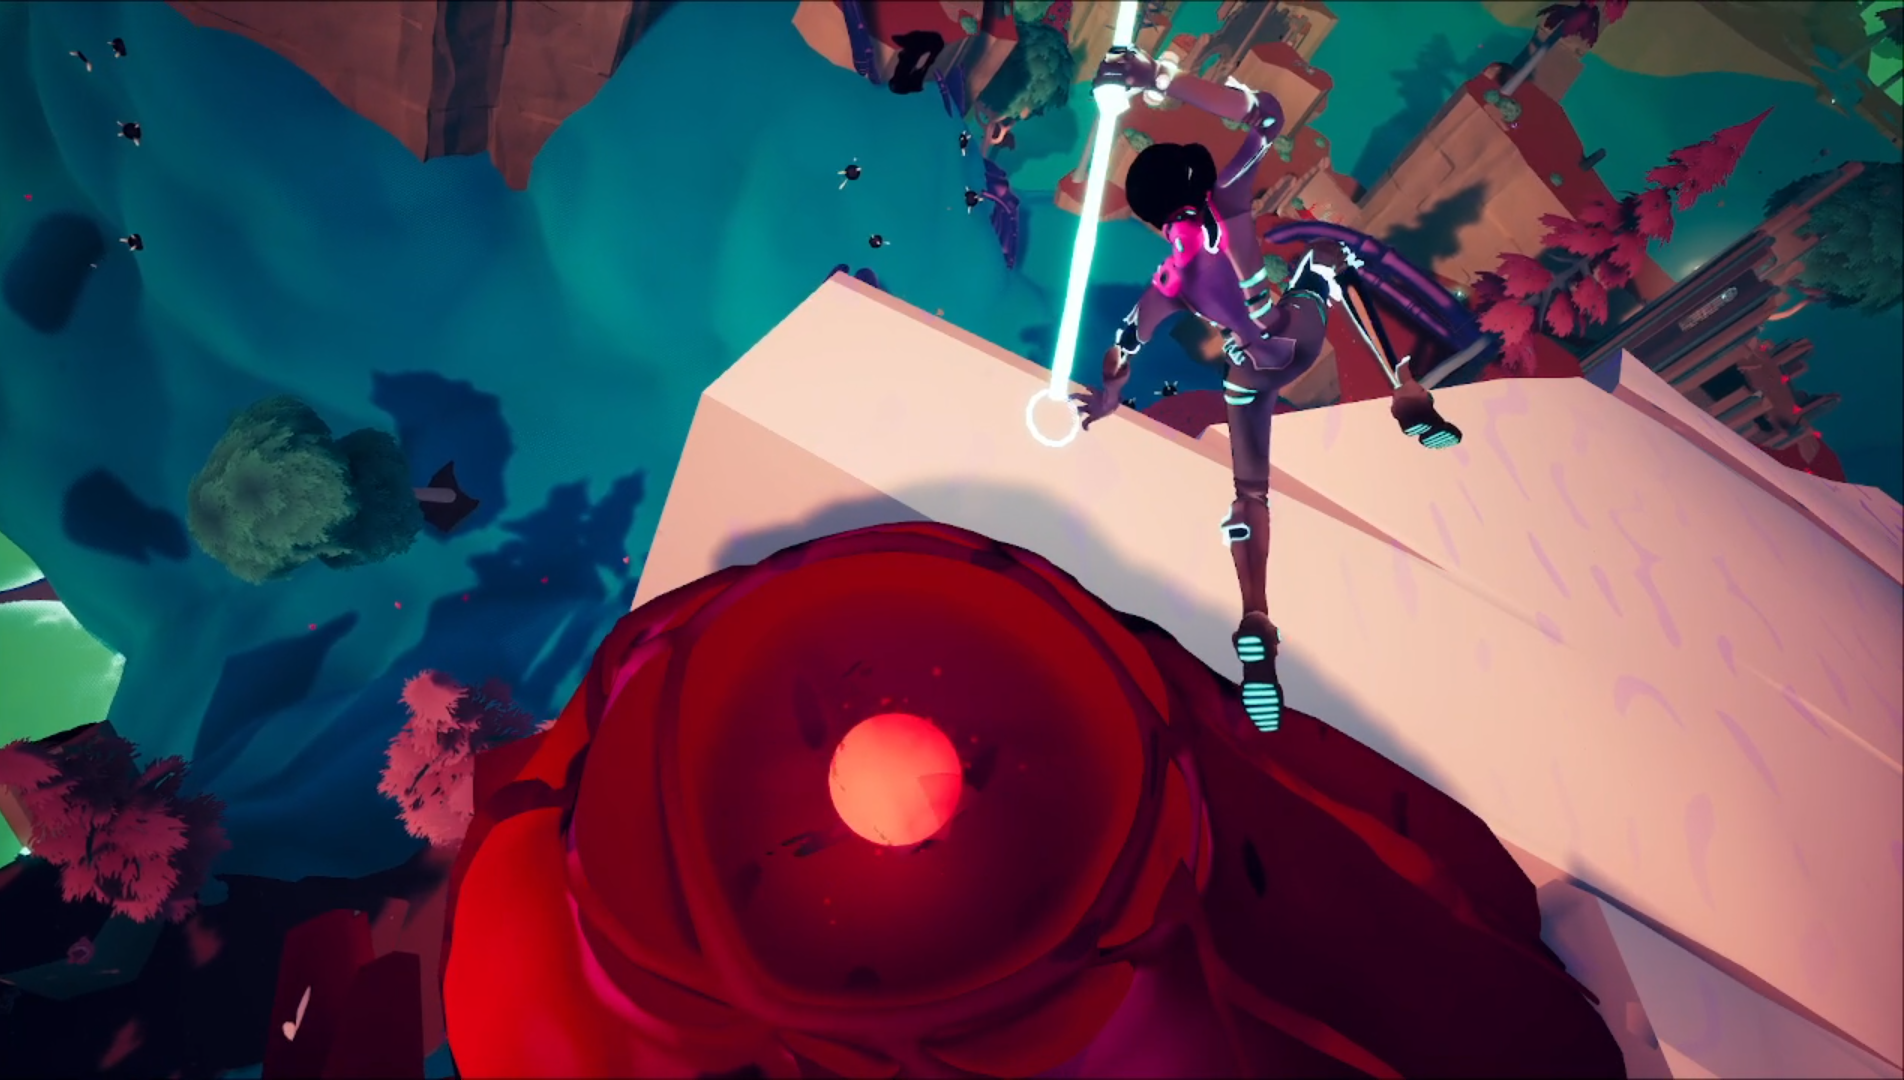

Solar Ash Voidrunner Stash Guide: How To Collect Them All
 ">
">
By Jonathan Toyad|December 6, 2021|0 Comment
Solar Ash is out now, and if you love 3D platformers that mixes Jet Set Radio skating & traversing together with Shadow of the Colossus giant-slaying, you’ve come to the right place.
The desolate-yet-pretty world of Solar Ash is full of secrets which include Voidrunner caches and lost journals that tell a deeper story within. Here’s how you can find them.
Voidrunner Stashes are purple tubes with a light on the front, and a blue pillar of light coming out the top. Finding the complete set of them will reward you with new outfits to put onto your character Rei. Your hub person Cyd will tell you how many stashes are remaining in an area if you ask her. Also, if you find a sigil carved anywhere, the Stash is nearby the area.
Here are the locations of each Stash in each area.
1st Stash: The Stash is on a ledge near the middle outer wall of the area. It’s just before one of the paths leading to one of the area’s anomalies.
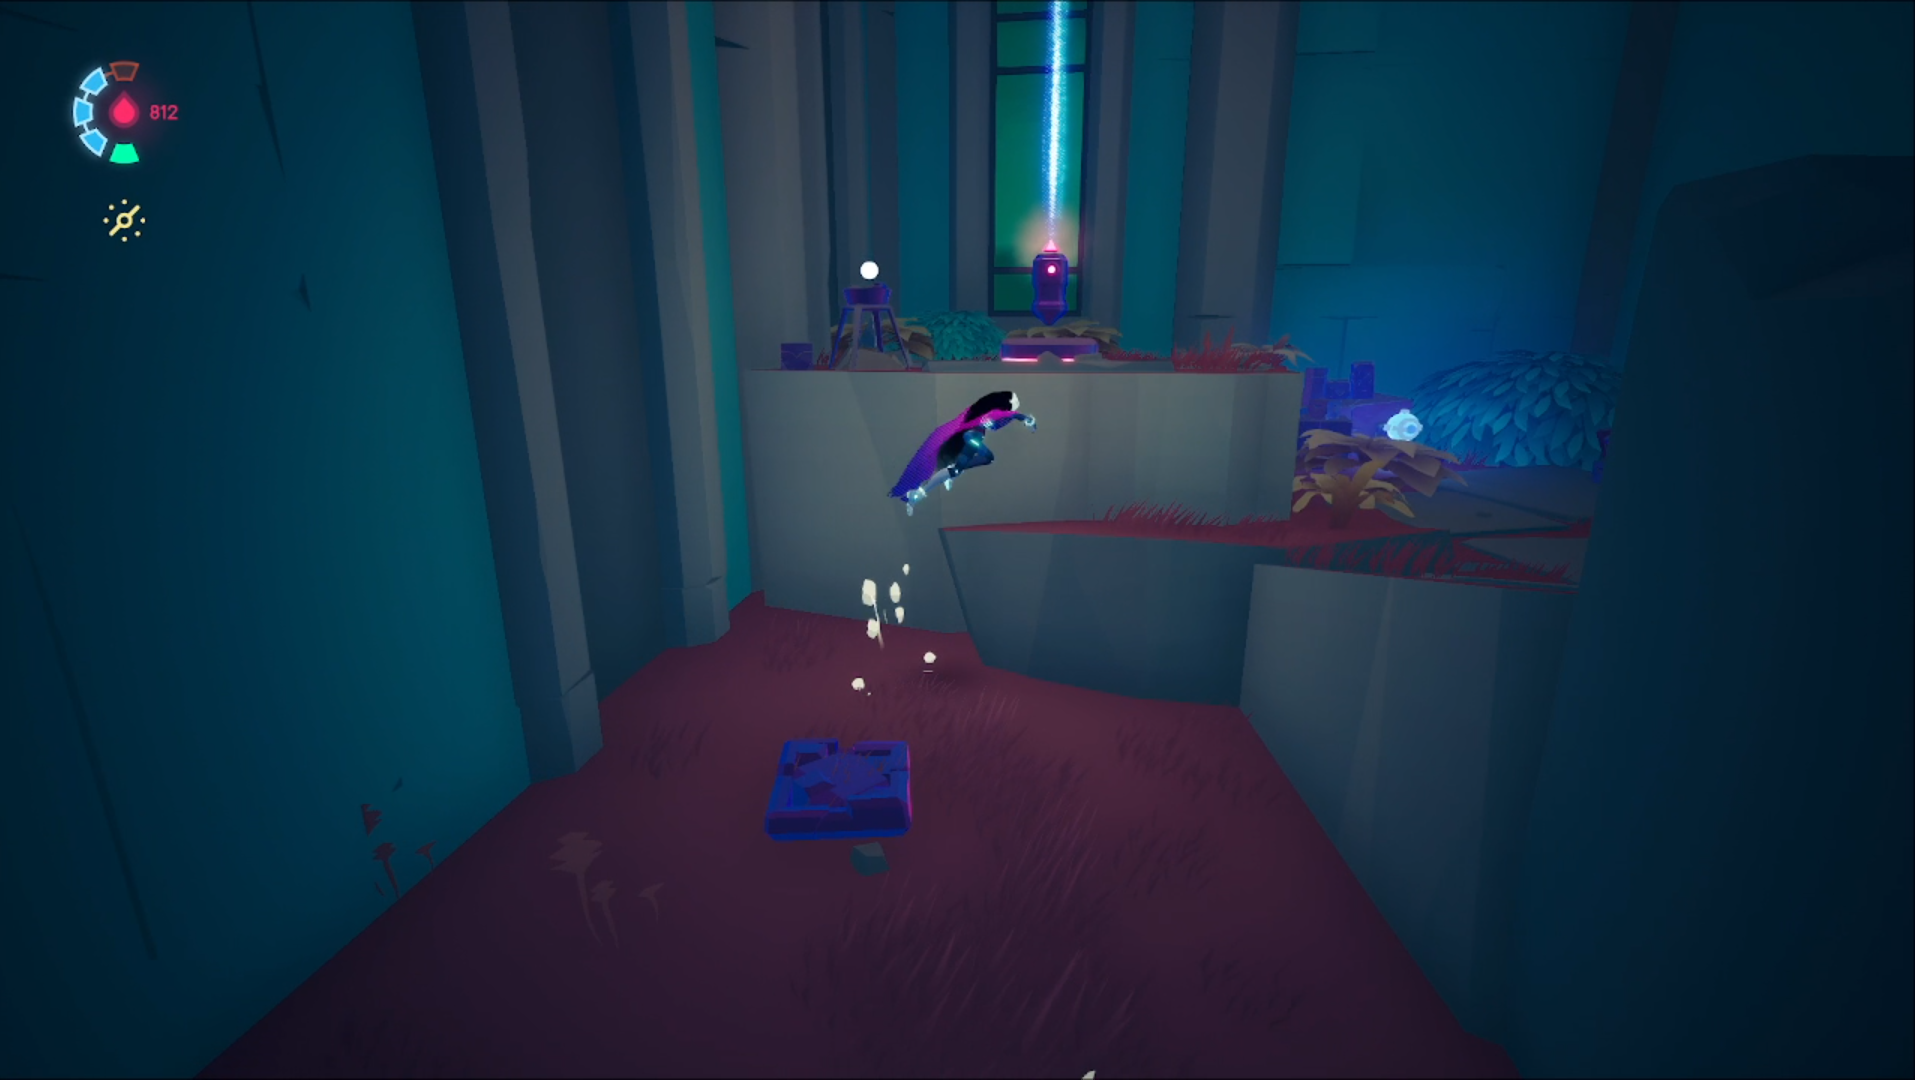
1st Stash: Take an immediate right when you enter the area. Then continue past the tree with the sigil on it to find this in the corner of the area.
2nd Stash: In the second area, go back up the grind rail that leads to Cyd. Grab the grapple point midway up. Climb the ooze on the wall to get to this Stash.
3rd Stash: In the area with Cyd, go down to the right where there is a large rail with a train car at the top. Follow the rail after the car into an area with some enemies and a wall, which has the Stash behind it.
4th Stash: When climbing the first area, before entering into the building at the top, you can spot the stash on top of the statue on the right. You can get onto the statue through the window from the rail room directly beside it.
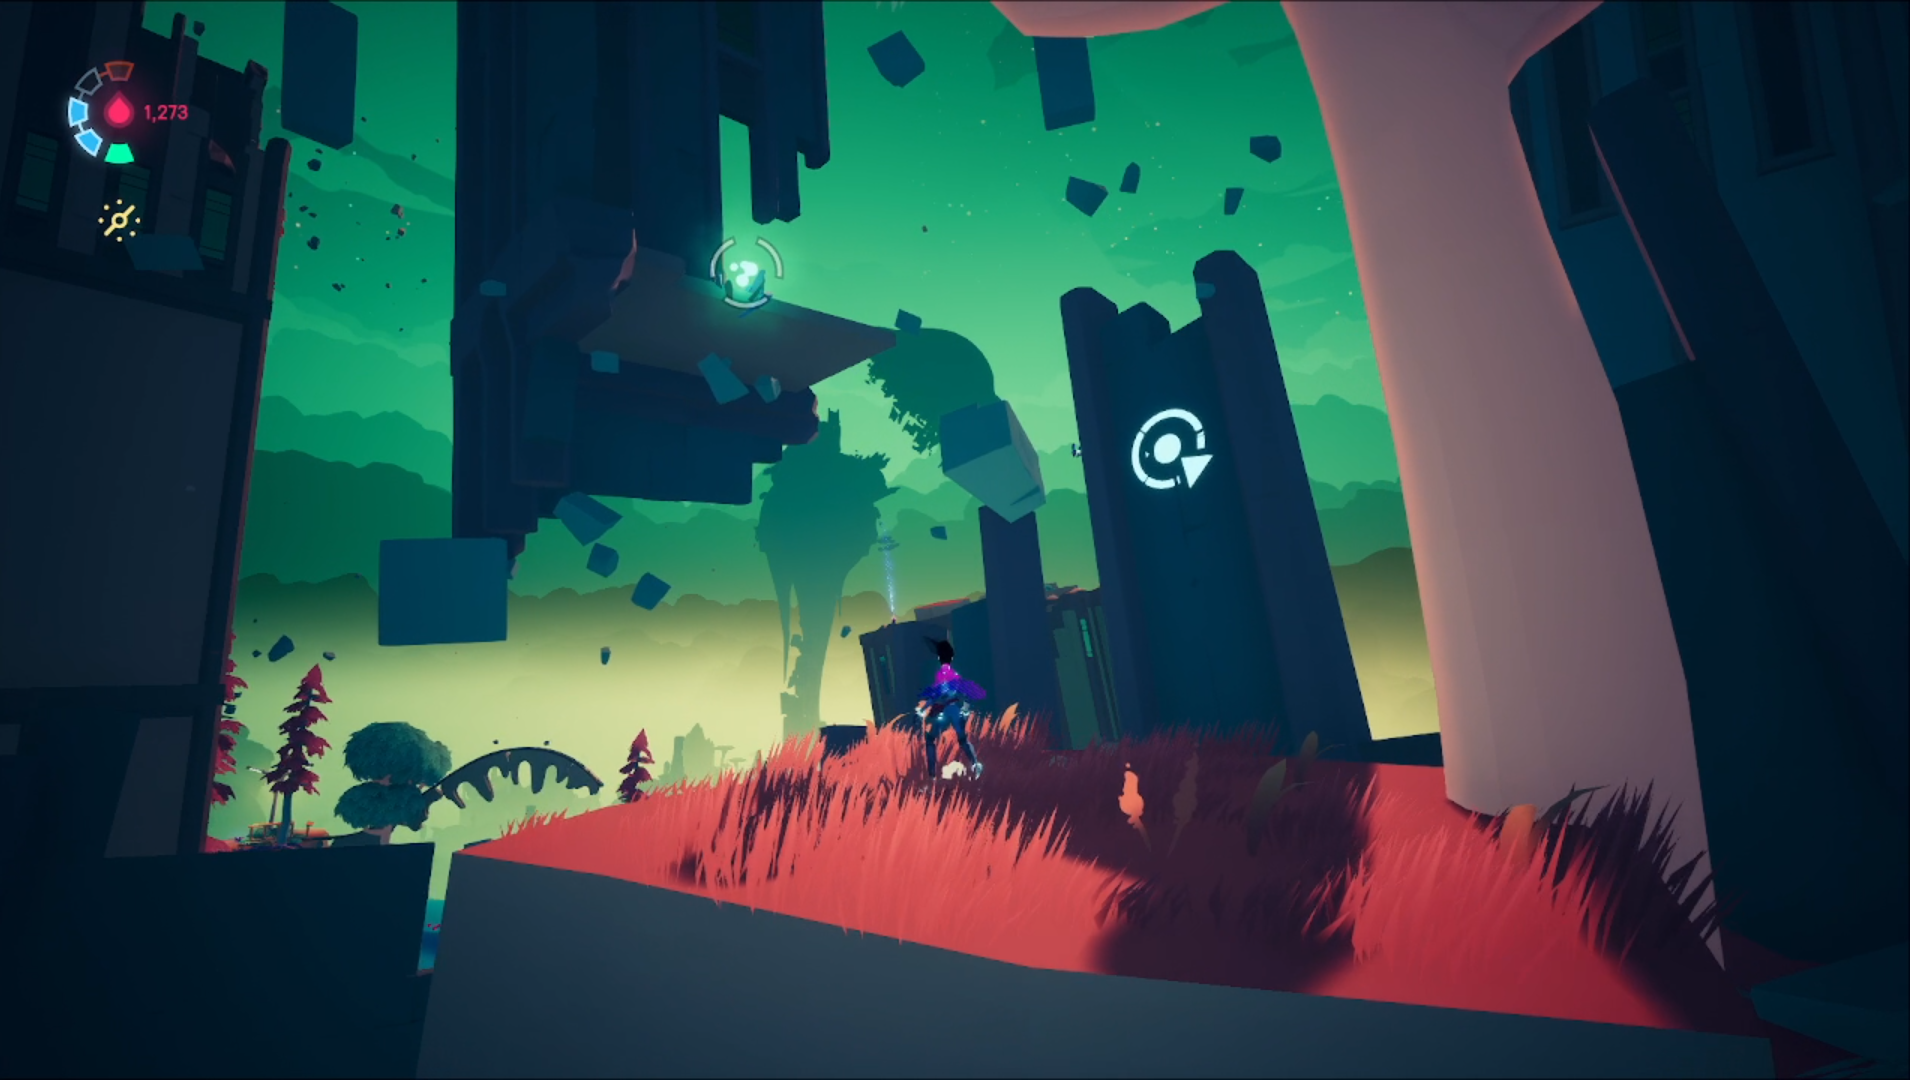
5th Stash: From the top of the building with the large spikey anomaly, take the grind rail off the side that has the sigil on it (see picture above). Follow the path with the grapple points; you’ll find the stash there.
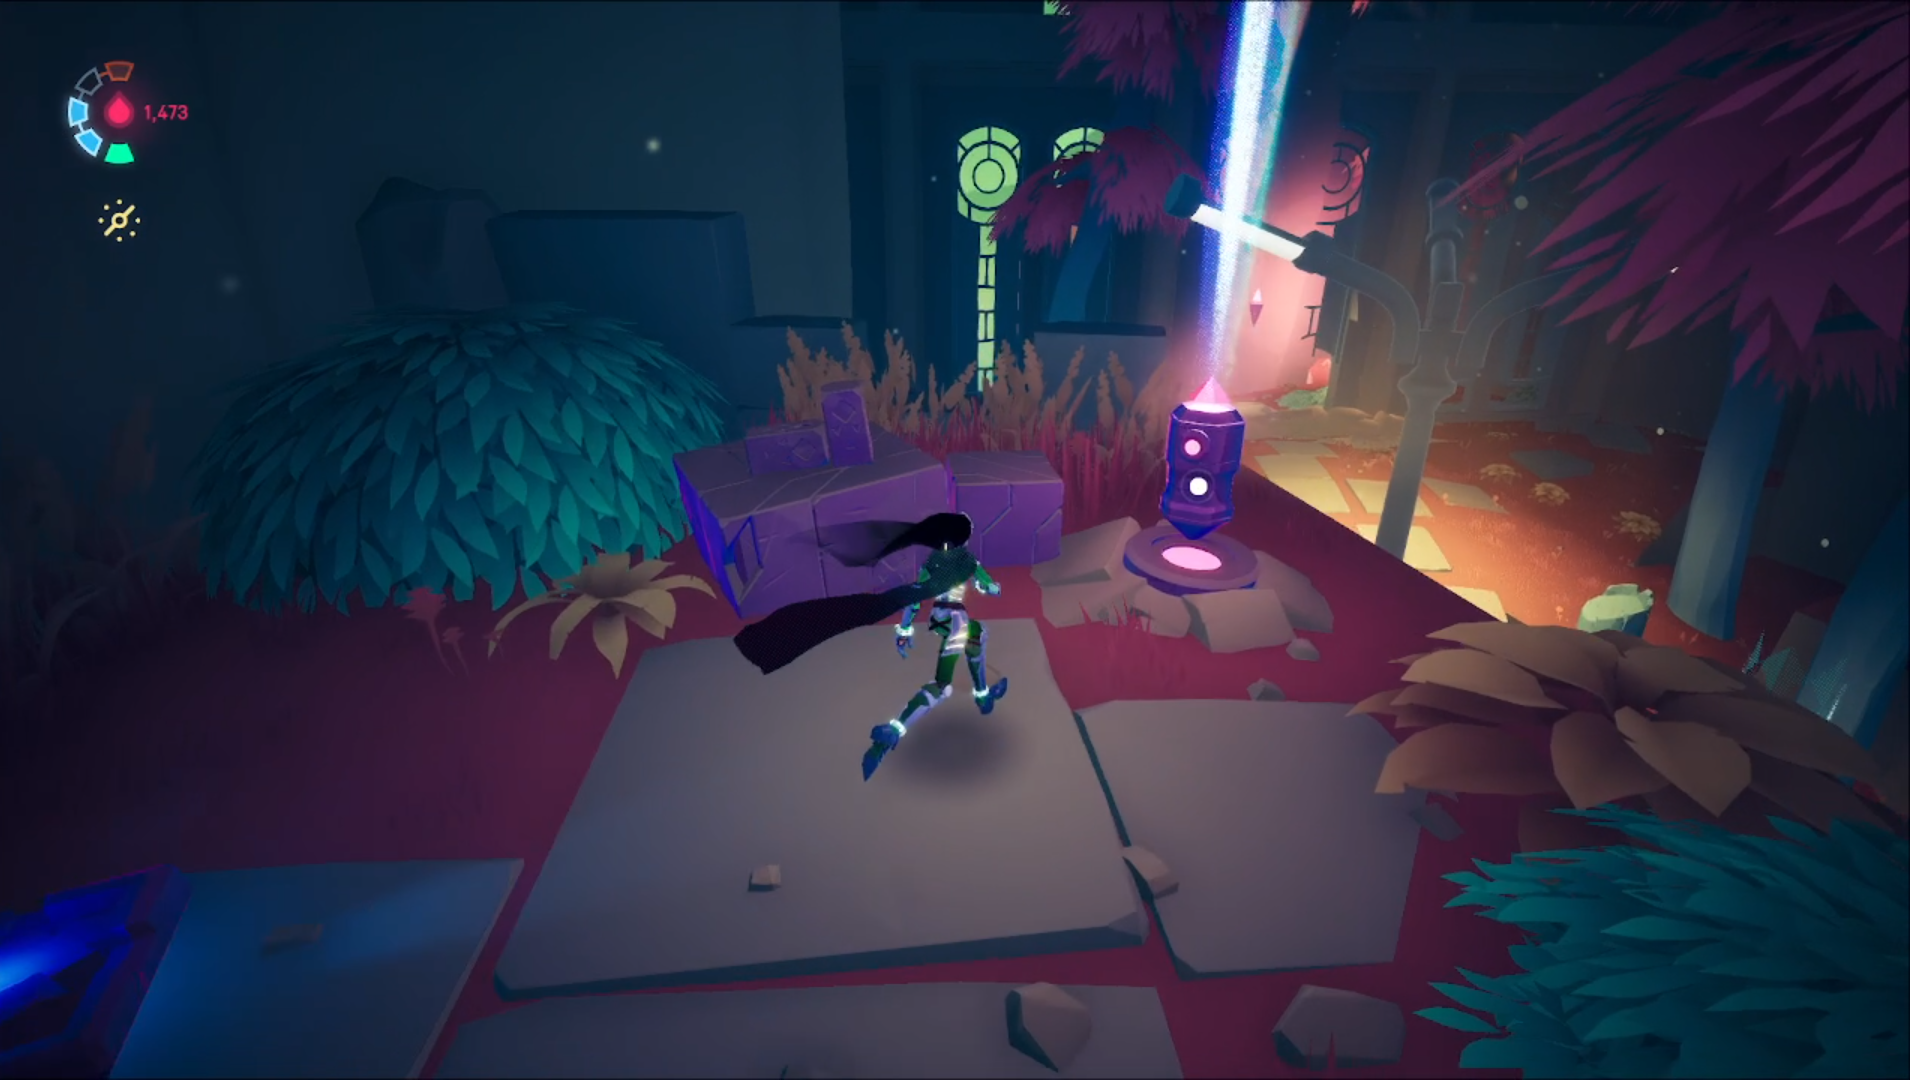
1st Stash: After climbing up to the building with the big machine with the pipes (Dross Harvester), jump down to the rock wall to the right where the sigil is. Follow the path around to near where you entered the area to find this stash.
2nd Stash: In the area where you break through a barrier to get to an anomaly, just before going up to the left you can see some mines leading to the right. Move past them and you’ll eventually find the Stash.
3rd Stash: Around the area with the anomaly in the building, go below and you can find a sigil on a wall pointing into an area with a bunch of mines. At the end of this area, you can go into a building with this Stash.
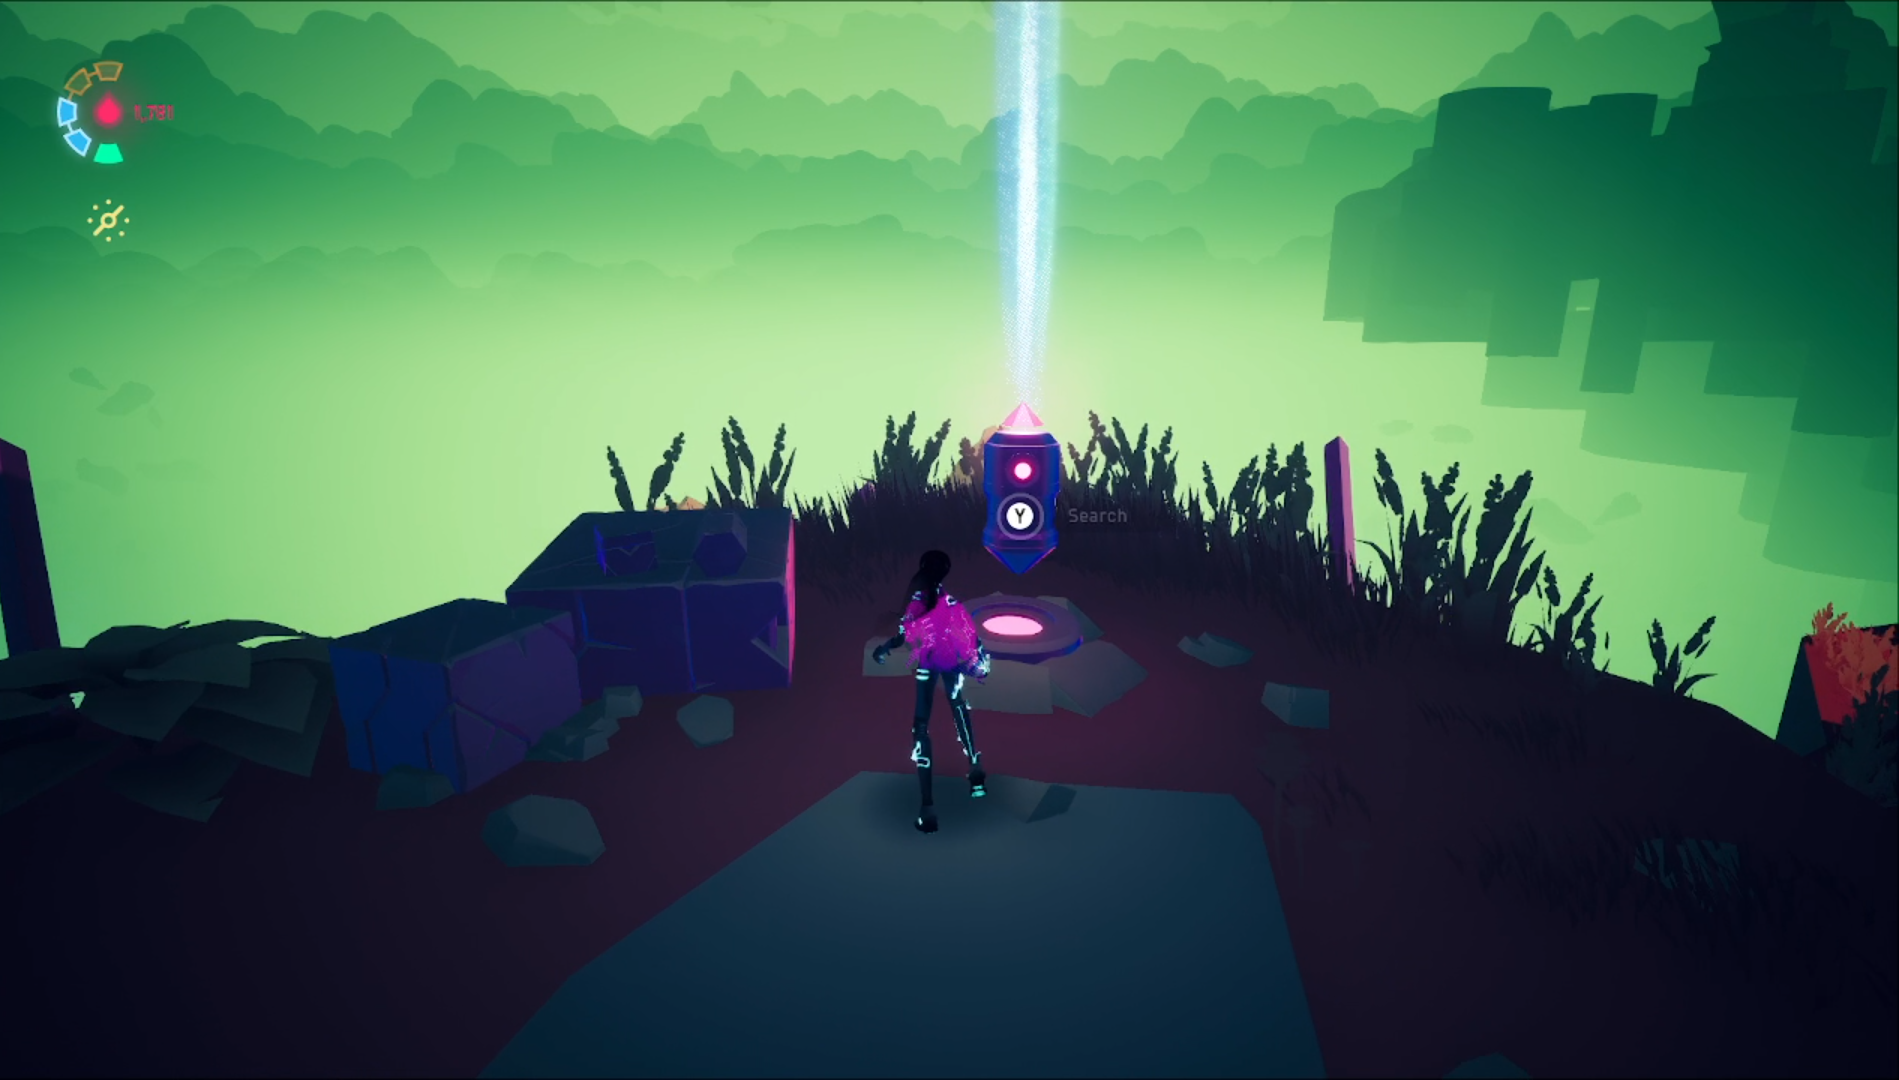
4th Stash: Around the left side of the building with the door that requires 3 switches to enter, you encounter spikes that appear on the ground when you move over them with a red damage point at the end to shut them off. Follow the path around the area and deal with the next two spike areas. The stash is there.
5th Stash: Head to the same building with the Dross Harvester. Walk around the left side where the sigil is. Follow the edge all the way around the back to find this stash.
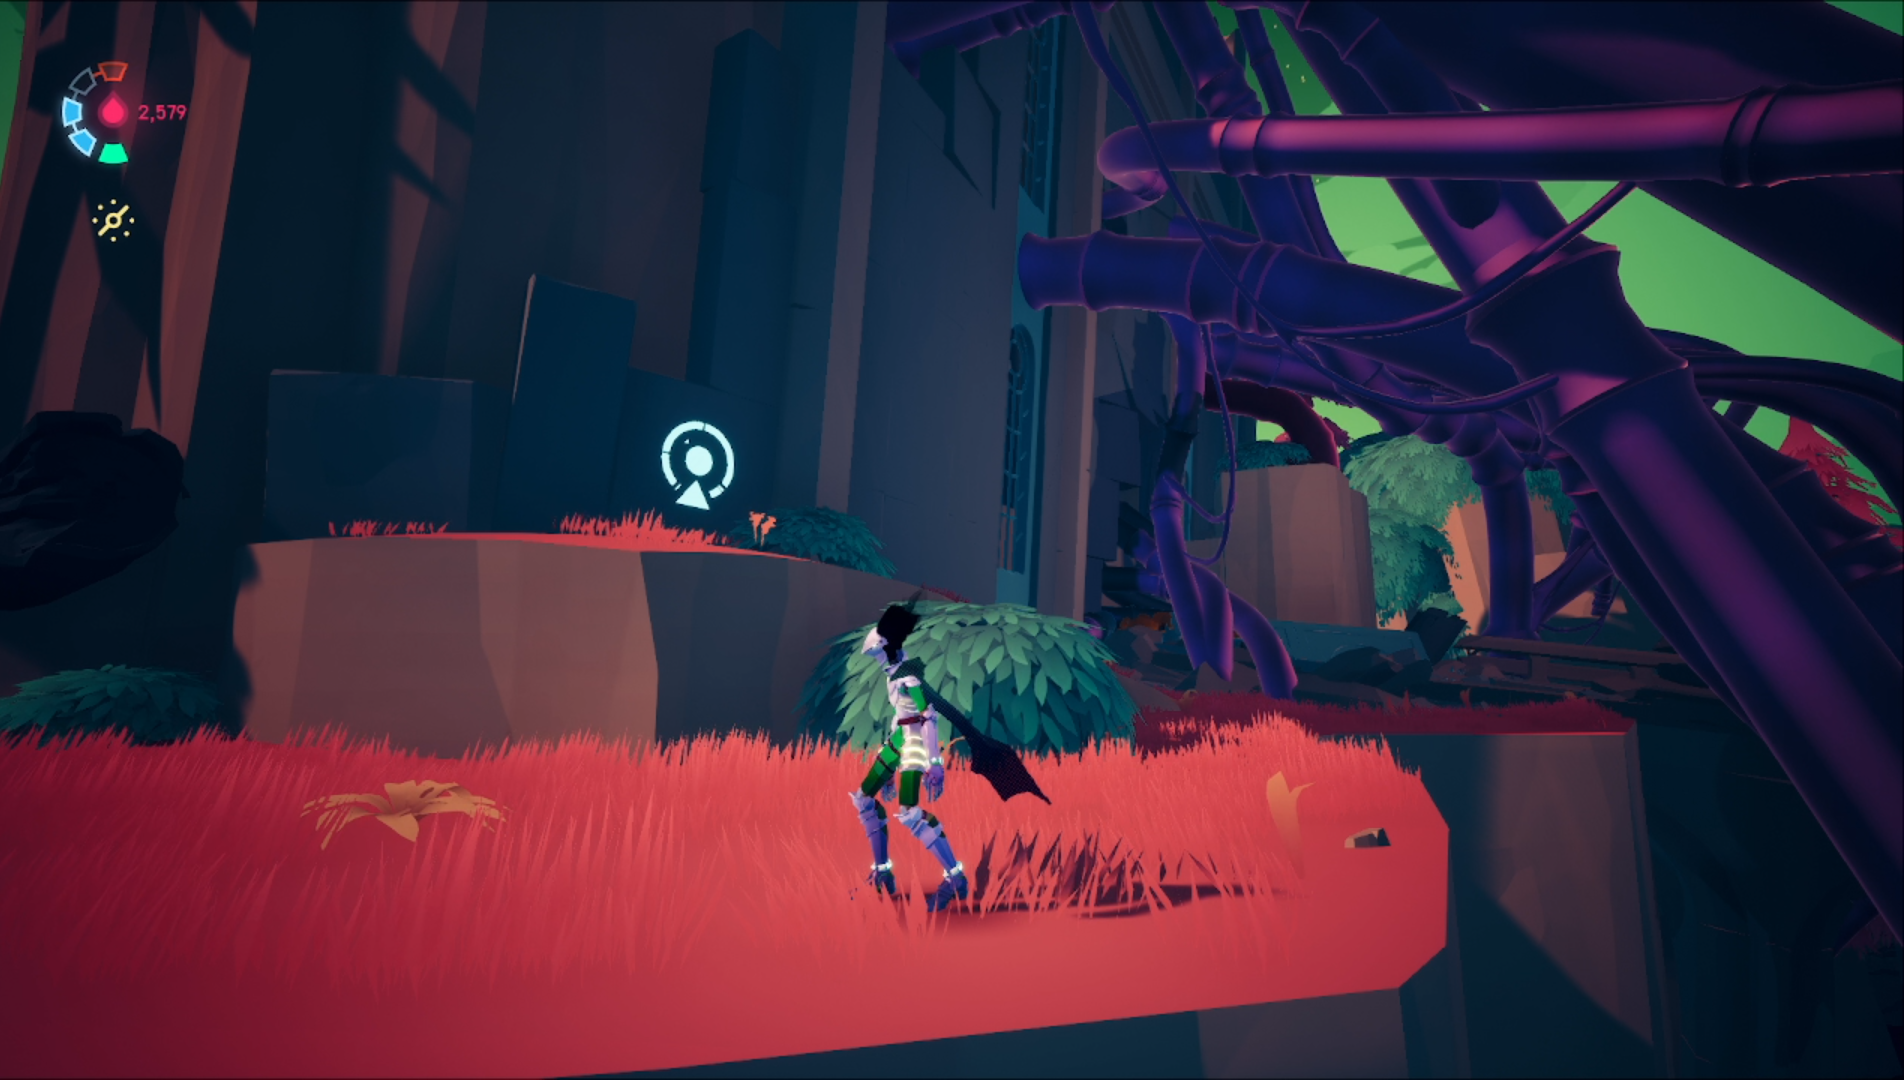

1st Stash: From the Cyd activation point, turn around to spot a large cloud pillar. At the top is the building with this Stash. To get inside you need to hit the yellow mushroom beside Cyd, then rush over to this location to open the door while the effect is active.
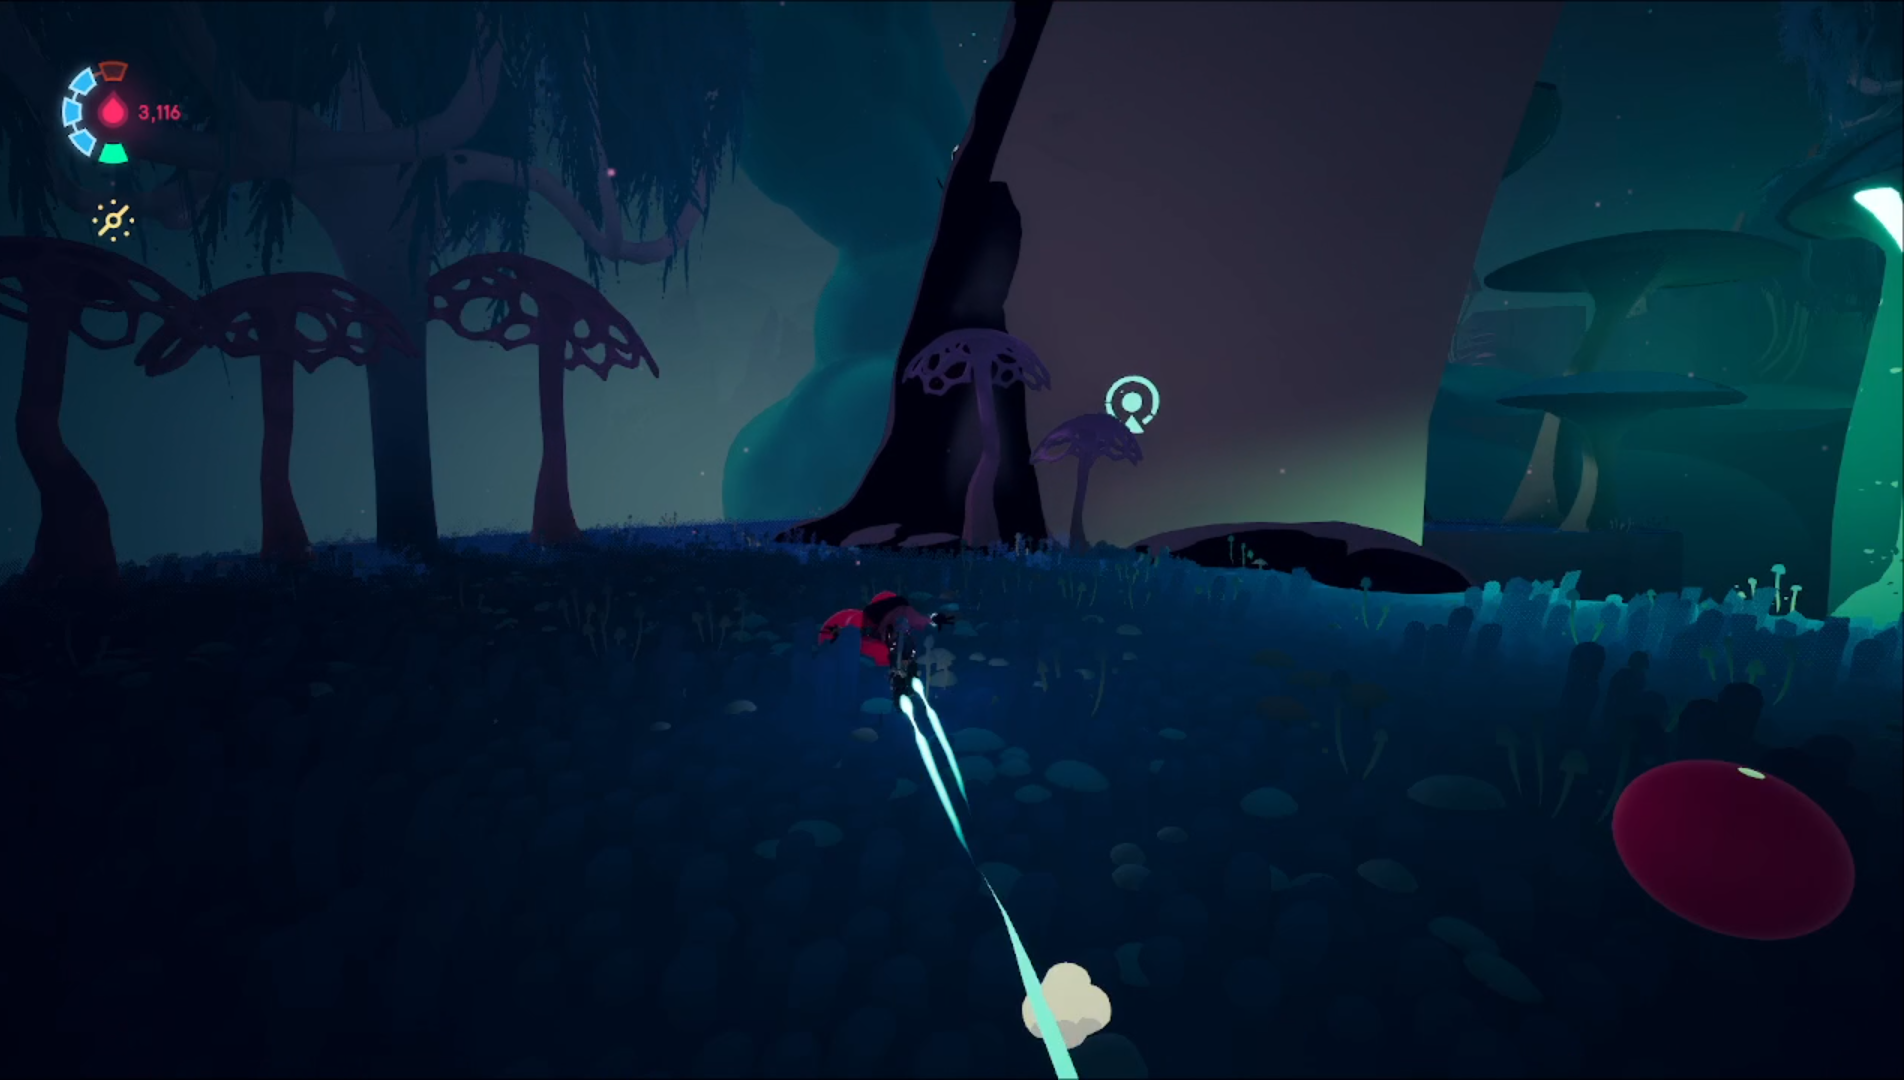
2nd Stash: In the area to the right of Cyd, there will be a large bone sticking out of the ground with the Stash light on top. Climb the ooze on the back to reach it.
3rd Stash: In the dark area underground from the central building, when you activate the final yellow rail to go back up, you can jump off to the left to find this Stash.
4th Stash: In the area left of Cyd, follow the path to where you find some blocks with a sigil pointing forward. Follow the path around the back of the building to find this Stash.
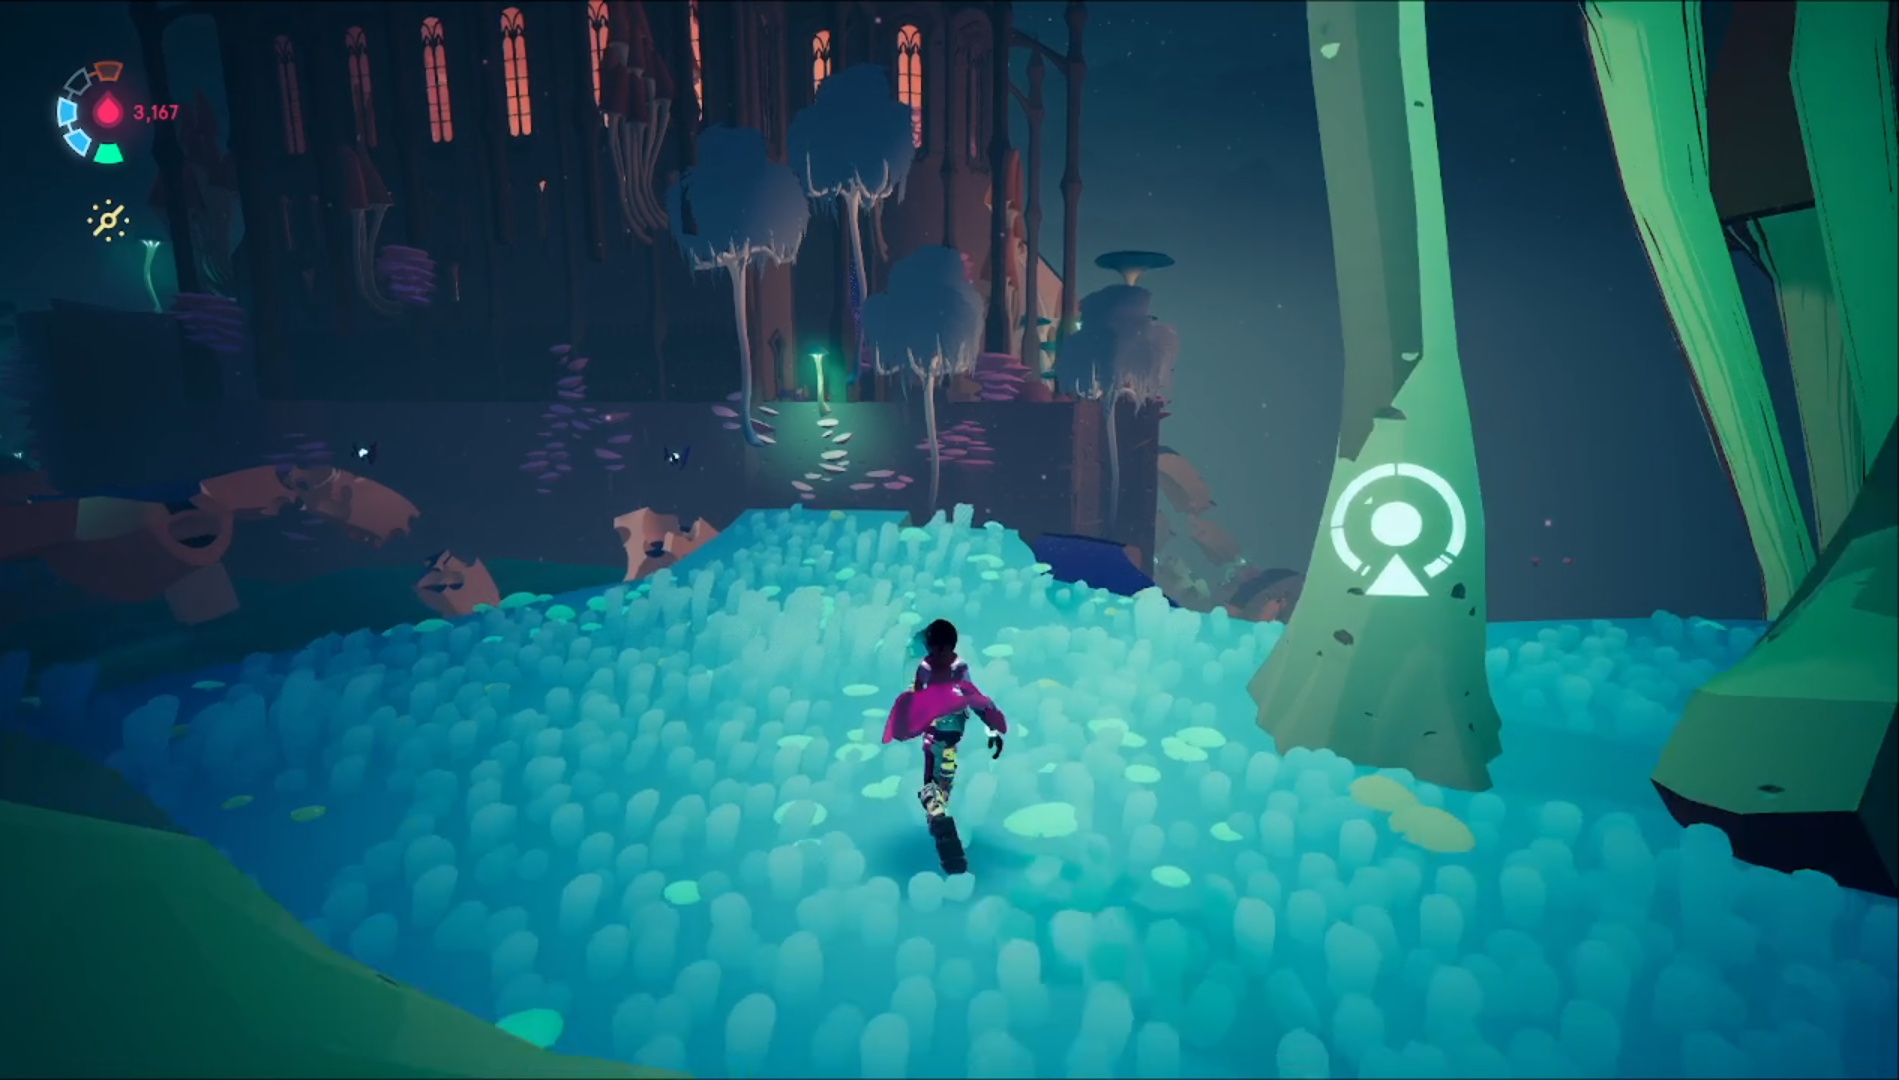
5th Stash: In the area to the right of Cyd, you can see this Stash on top of a building near the start of the area. To get to it, go to the back right where you can find another sigil pointing you towards the row of bones (and grapple points) you can use to get to the Stash.
1st Stash: To the right of the central pavilion area after the Cyd point, there is the area at the top of the large cloud pillar. At the bottom of this area, where the dark part is, you can find a breakable wall beside a sigil. Go through there, then jump up to the left where you find a clam rail that leads down to an area with this Stash.
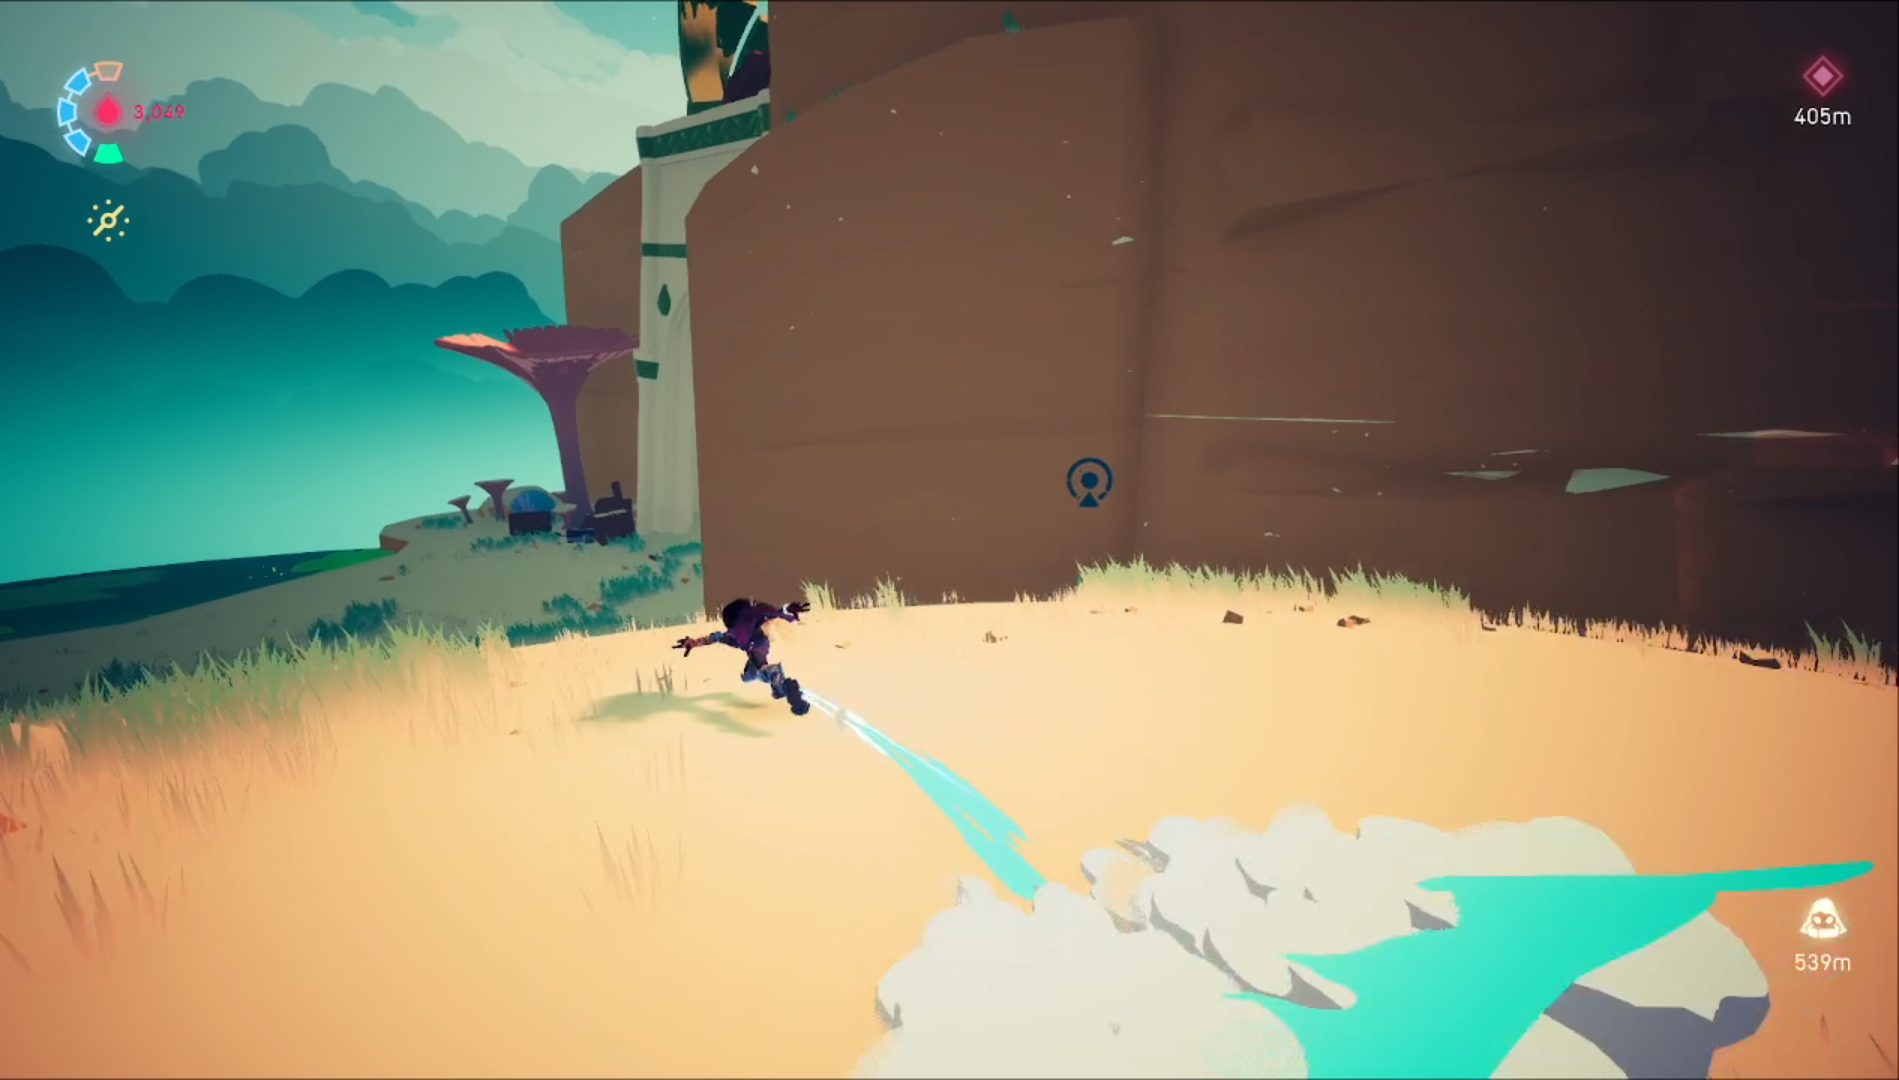
2nd Stash: Out the right side of the pavilion, go around the large cloud pillar to find a building set in the rock wall. The Stash is just at the back.
3rd Stash: While continuing through the area before reaching the Cyd point, you will reach an area with a bunch of white buildings that you use the fungus rails to get between. When going between the two buildings, direct the rail into the building on the left, where there will be another rail you can take up to this Stash.
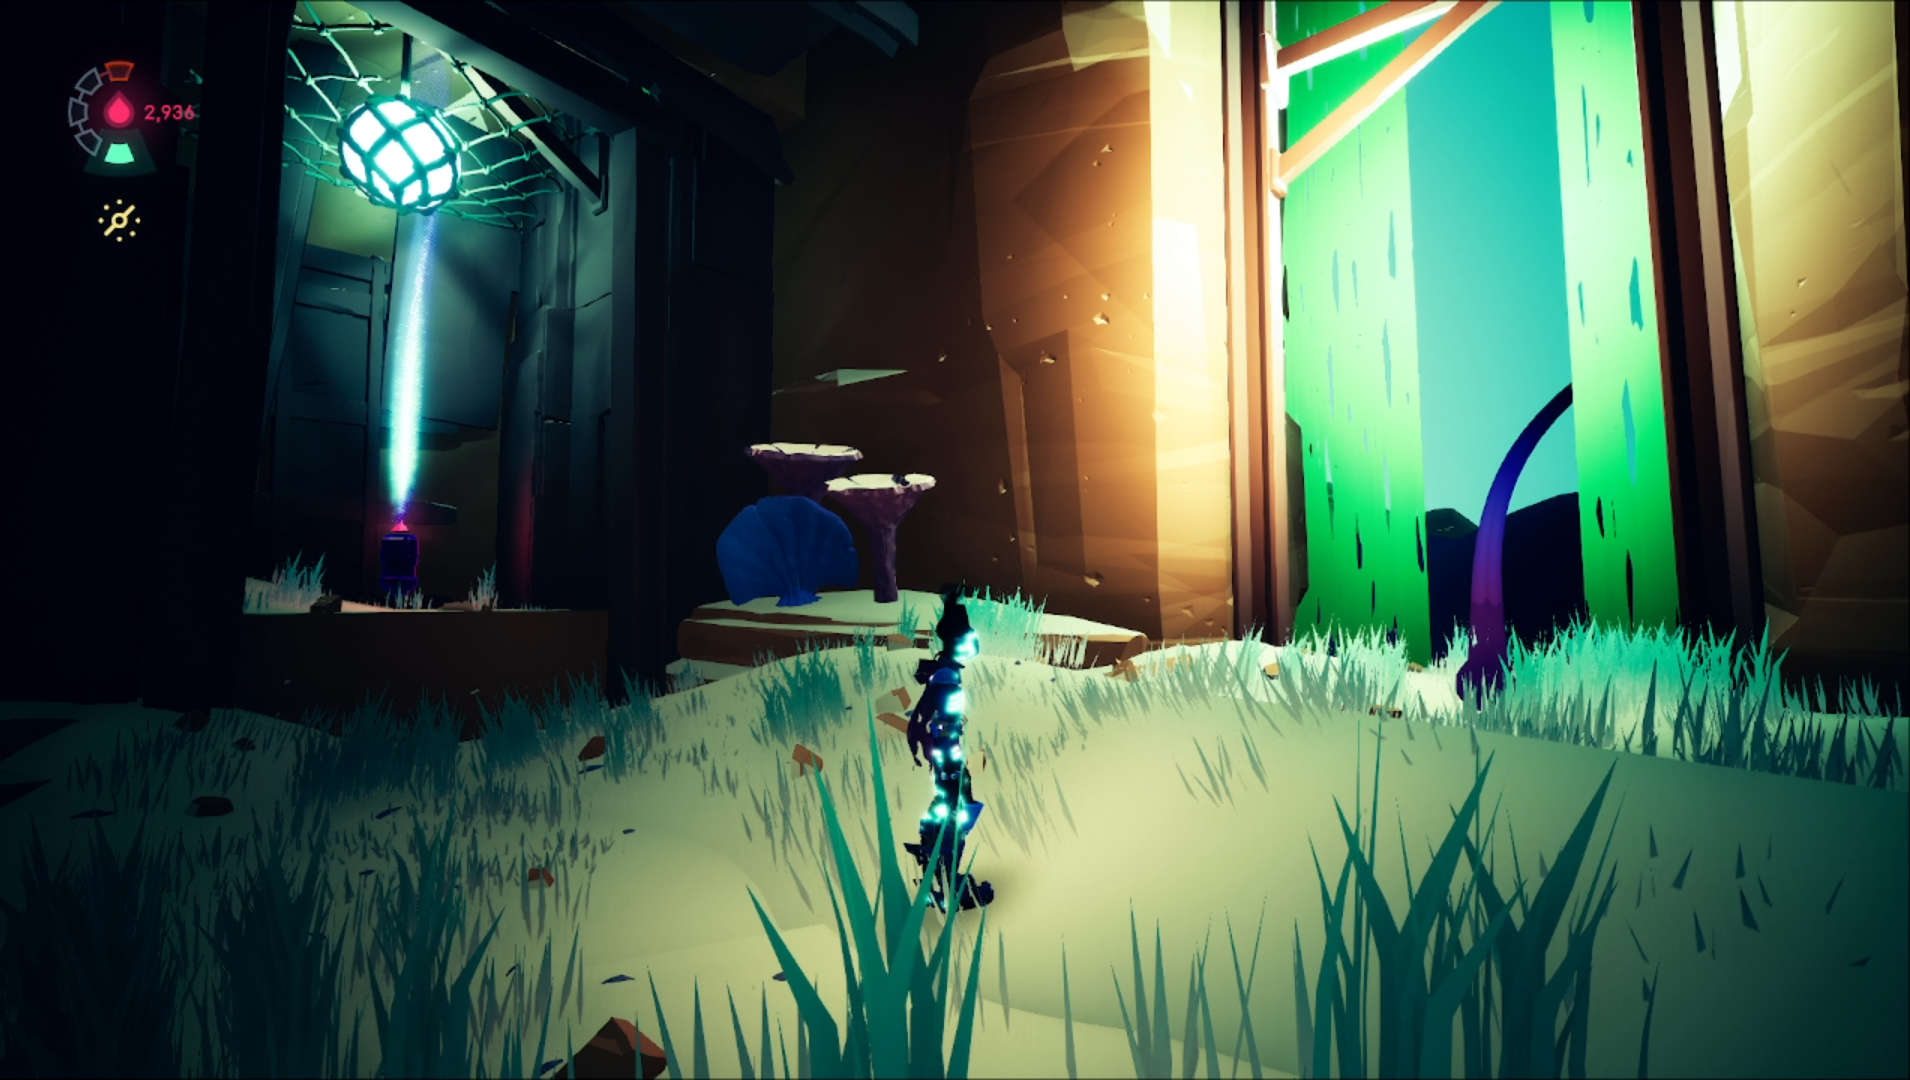
4th Stash: Again on the bottom area at the top of the cloud pillar, you will make your way to the anomaly using the clam rails. When you reach the final rail leading to the anomaly you can see a sigil directly beside it. Hit the clam to set the rail, then take the rail back into the building it goes through to the Stash’s location.
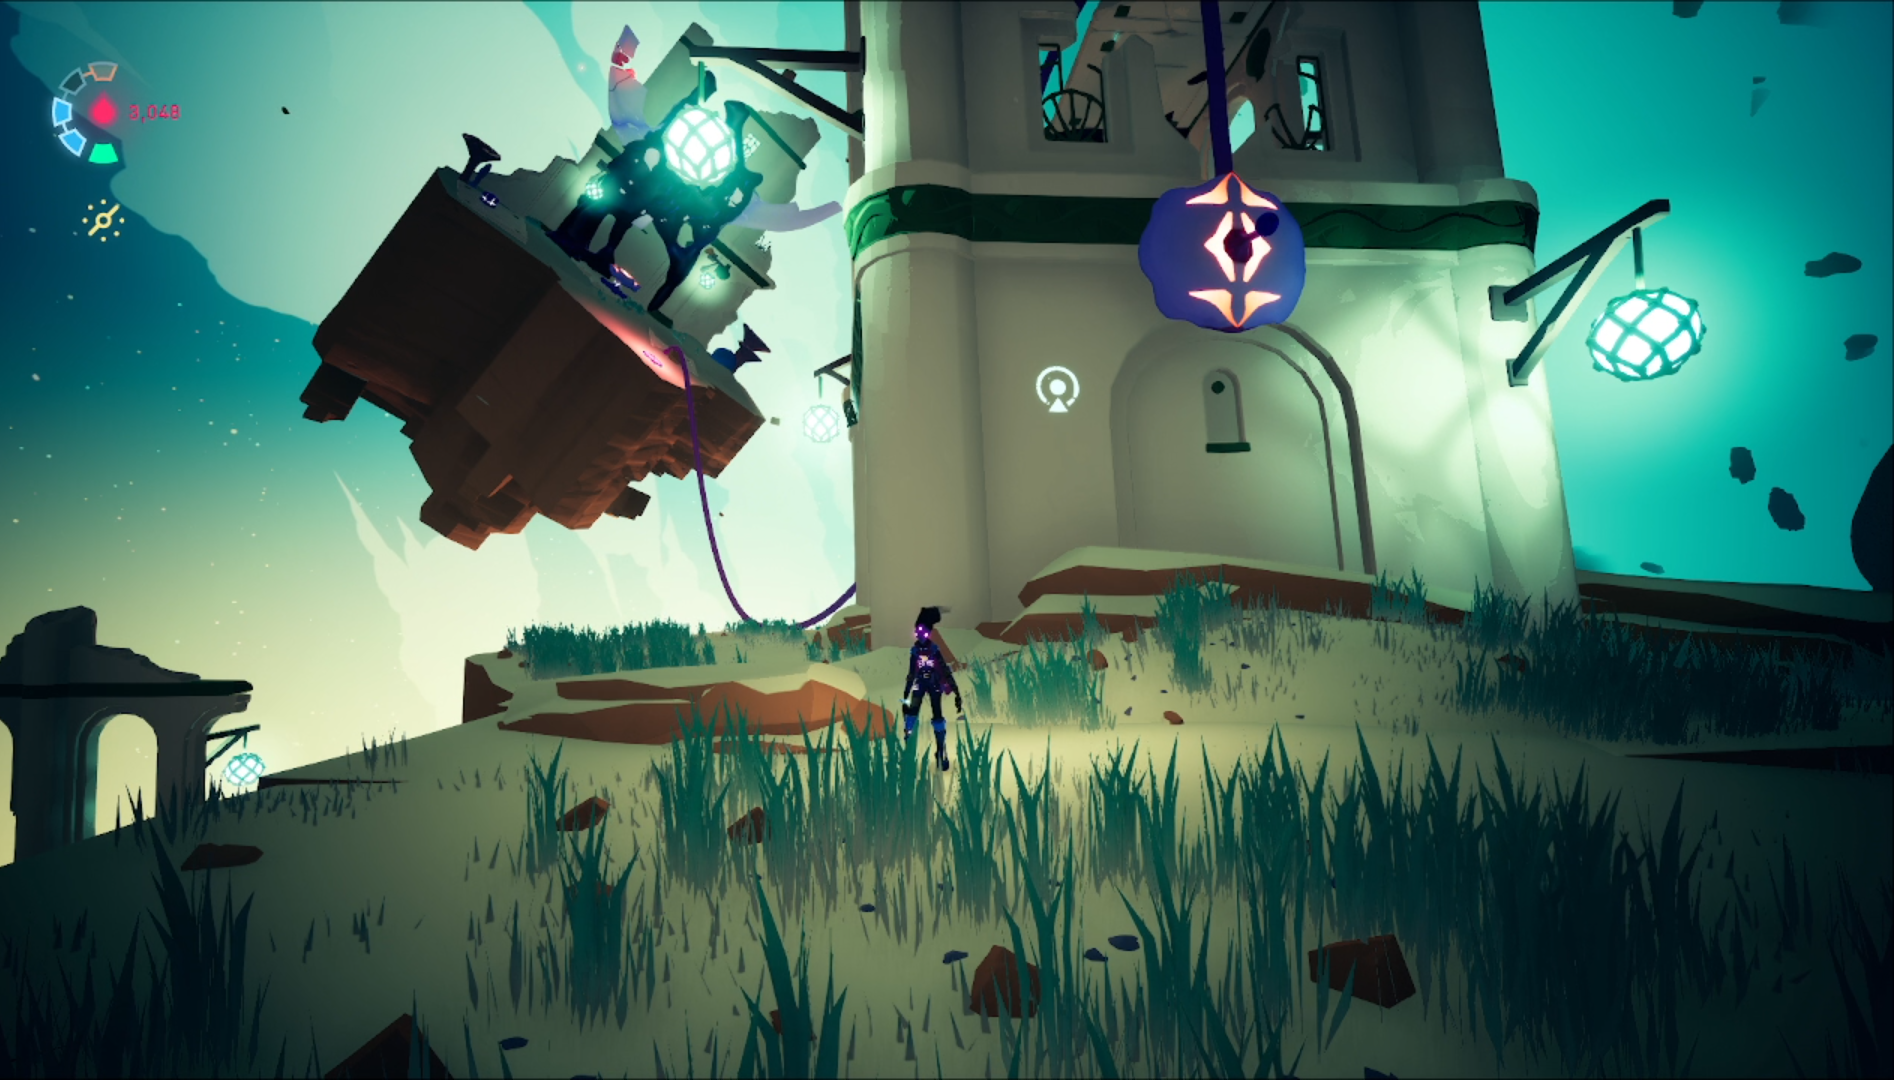
5th Stash: After destroying the anomaly in the large pavilion, you can see a sigil on the middle structure pointing upwards. Climb up the ooze to the second floor, then jump to the large dangling one in the middle to climb to the rooftop. The Stash is right there.
6th Stash: While progressing up the first area to get to the ship, you will reach a point with a sigil on some floating metal pointing left. Take the grapple point going to the left and then grind the rails to reach this Stash.
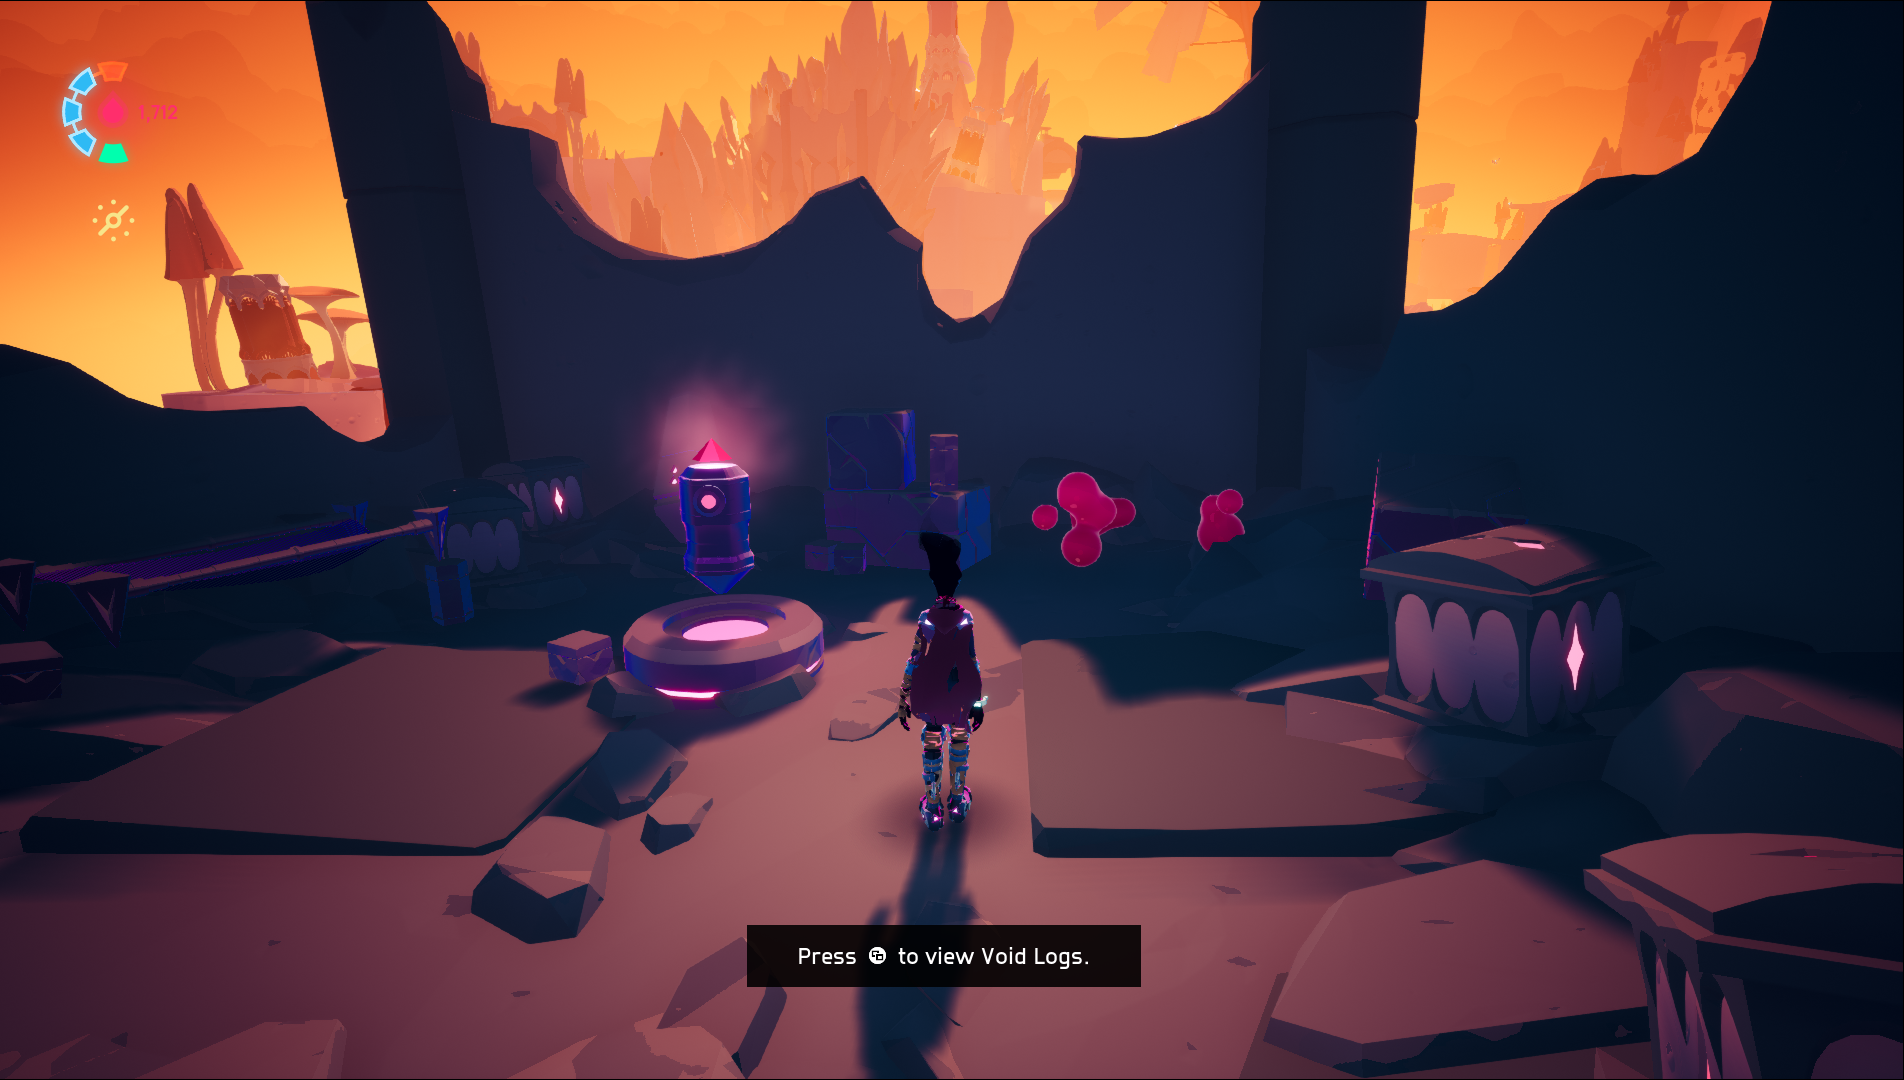
1st Stash: After the Remnant cutscene when you’re at the main area, there’s a sigil on a rock that’s pointing left. Follow the path around and jump on top of the building to find this Stash.
2nd Stash: When travelling to the Cyd hub point, you’ll pass a sigil on a low wall point downwards. Follow the black ooze down the wall to a lower area; the Stash is just below.
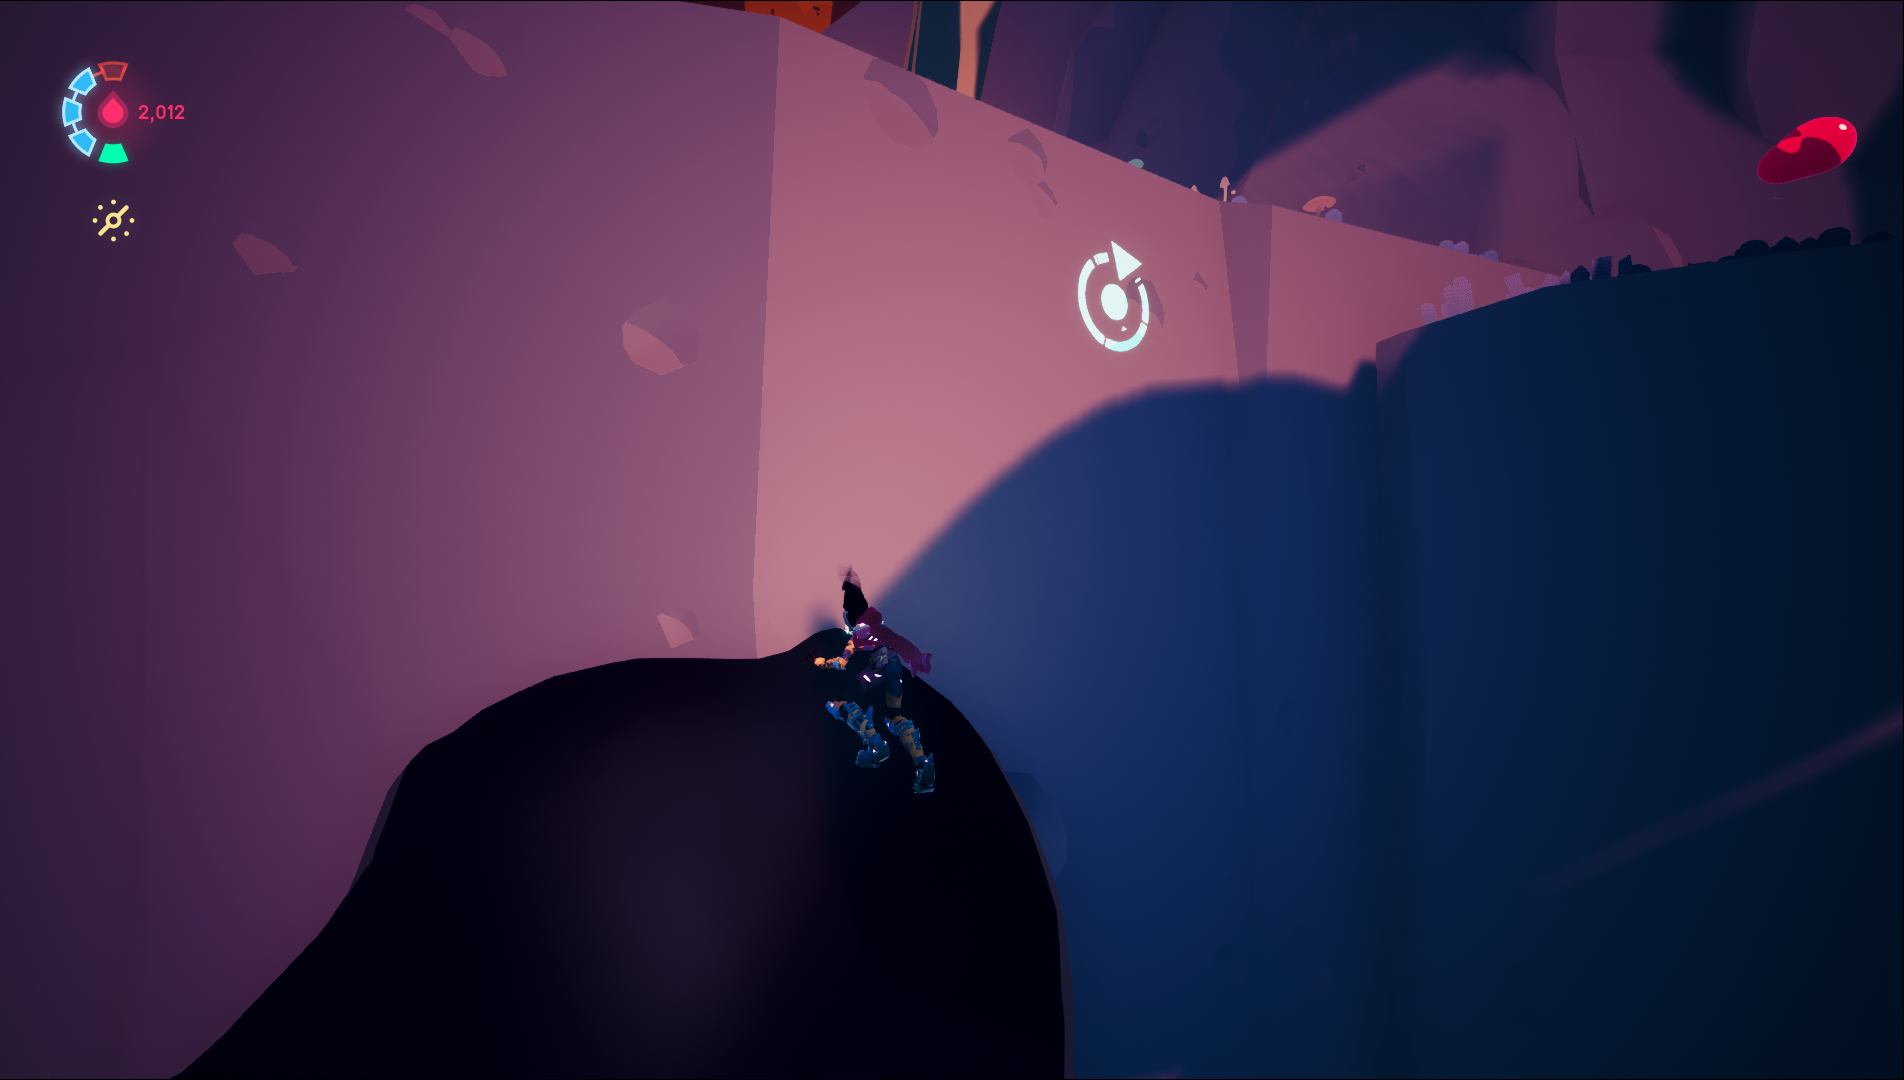
3rd Stash: While progressing up the walls of the broken building, you can spot a sigil on the right side partway up pointing towards a Stash on another floor of the building. To get it you need to progress slightly further to find the red mushroom, and use it to create a grind rail to lead you to the 3rd Stash.
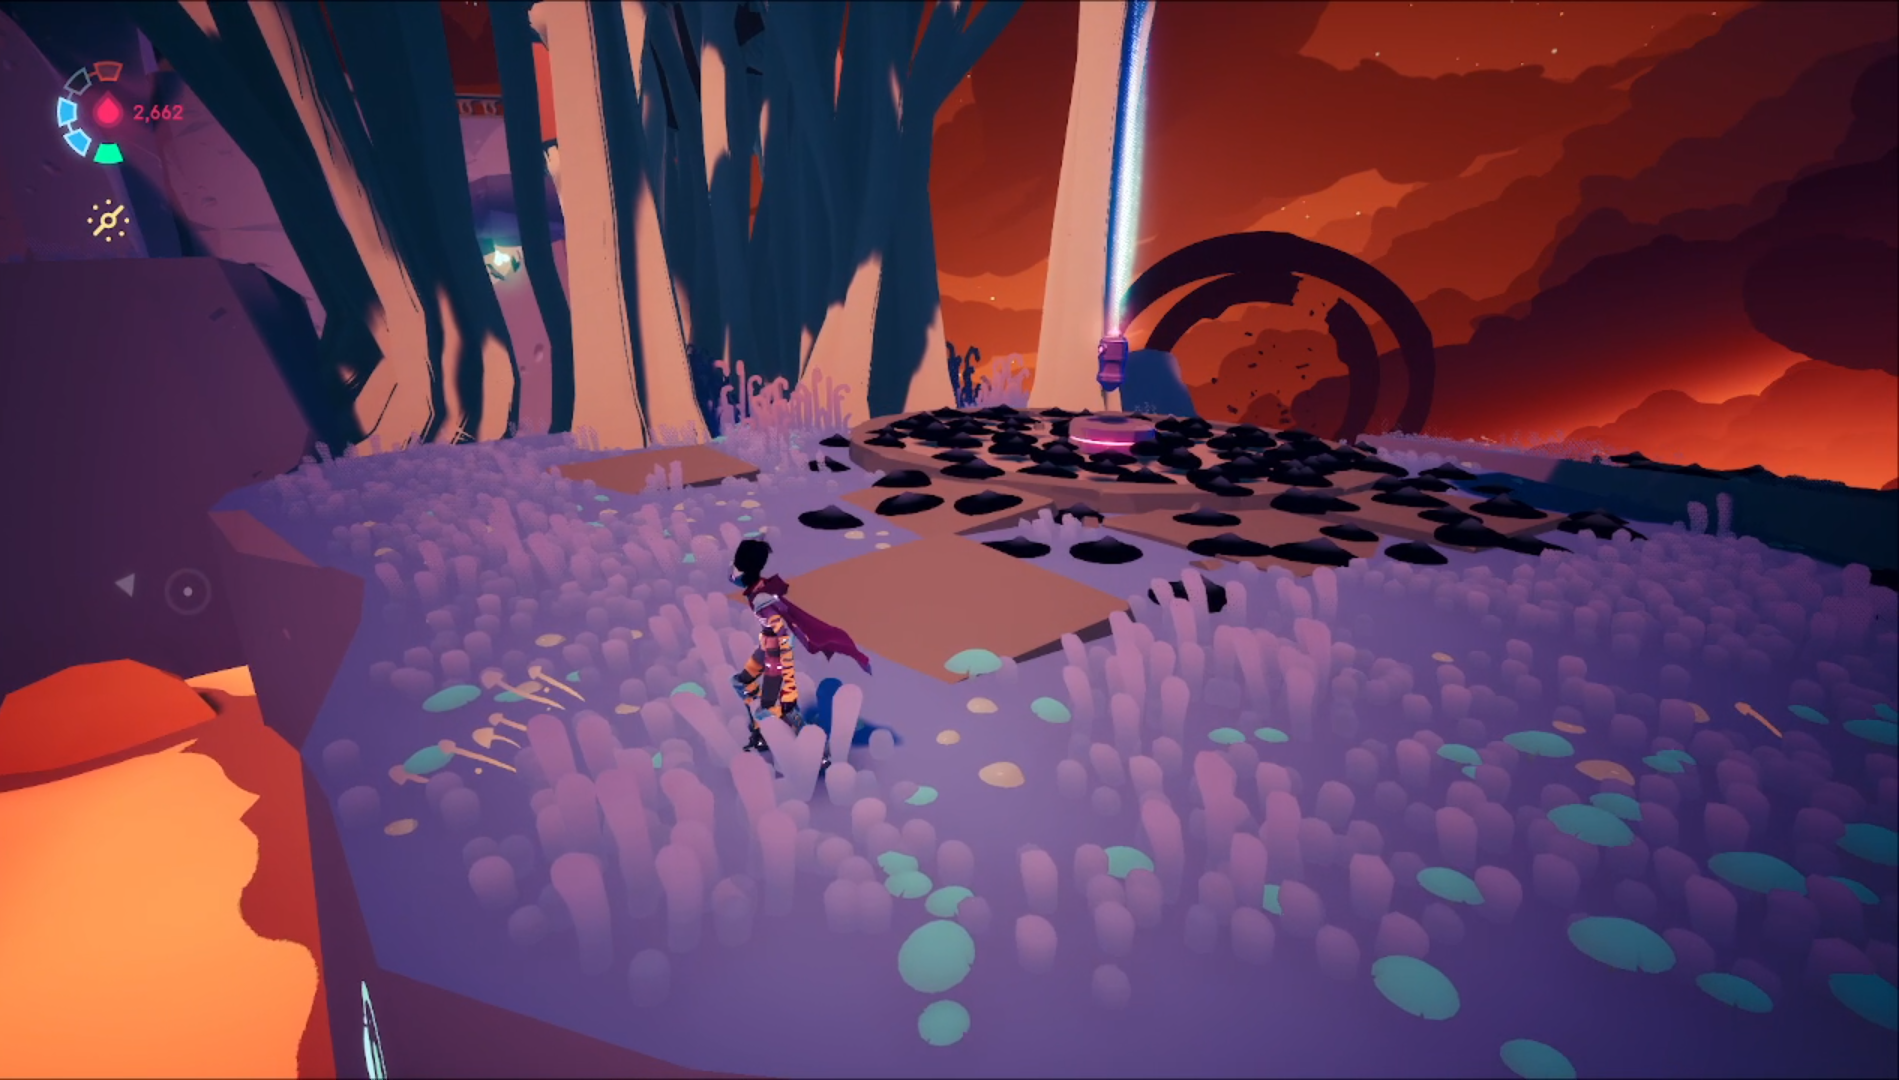
4th Stash: Once you’ve been through the long area with the floor spikes, you’ll eventually reach a point where there is a Stash obviously off to the right. Before you can grab it you need to follow the path to the back to be able to turn off the floor spikes for this area.
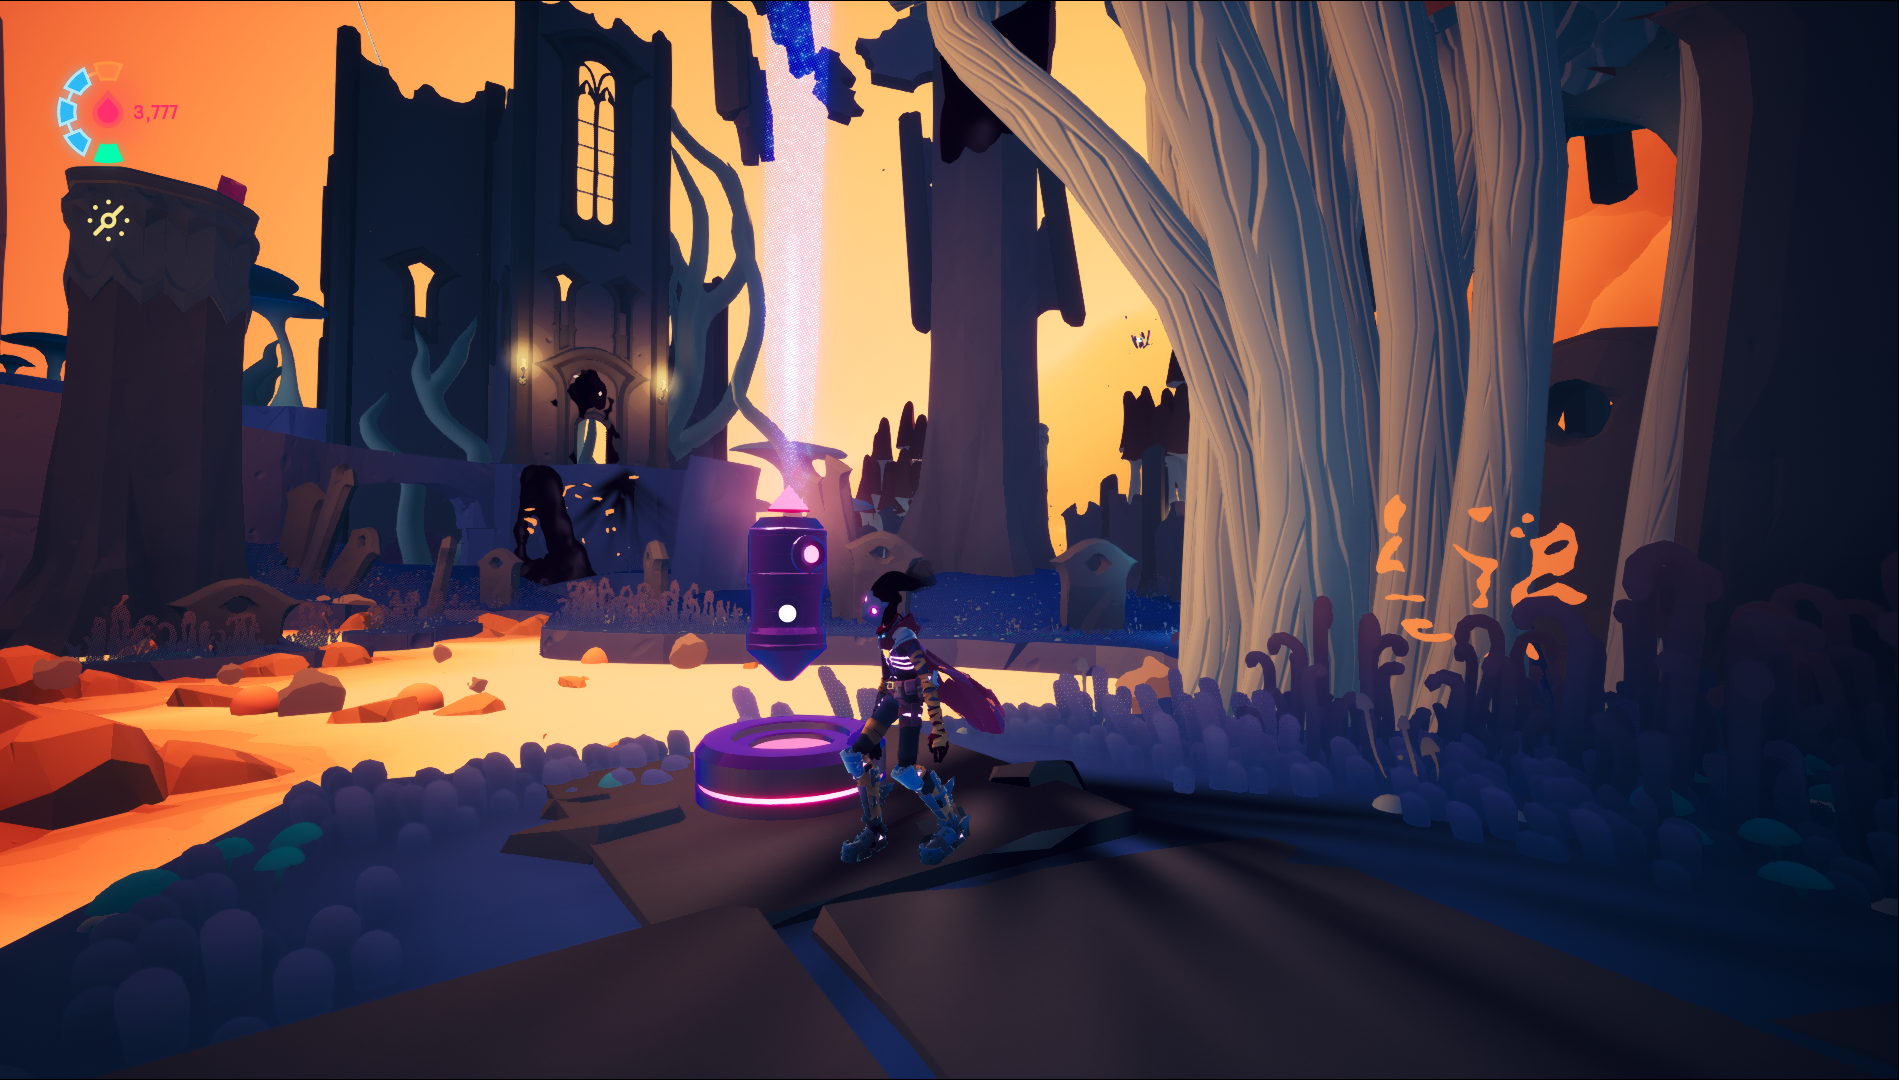
5th Stash: After you progress to the area past the really long grind rail, you will go up a wall and the Stash will be directly in front of you to the left. Before you can grab it though you need to deal with the wall laser enemy off in the distance because it will shoot at you if you try and grab the Stash before it’s dead. You will deal with the turrets in the area while destroying the anomaly, then you can come back to the stash.
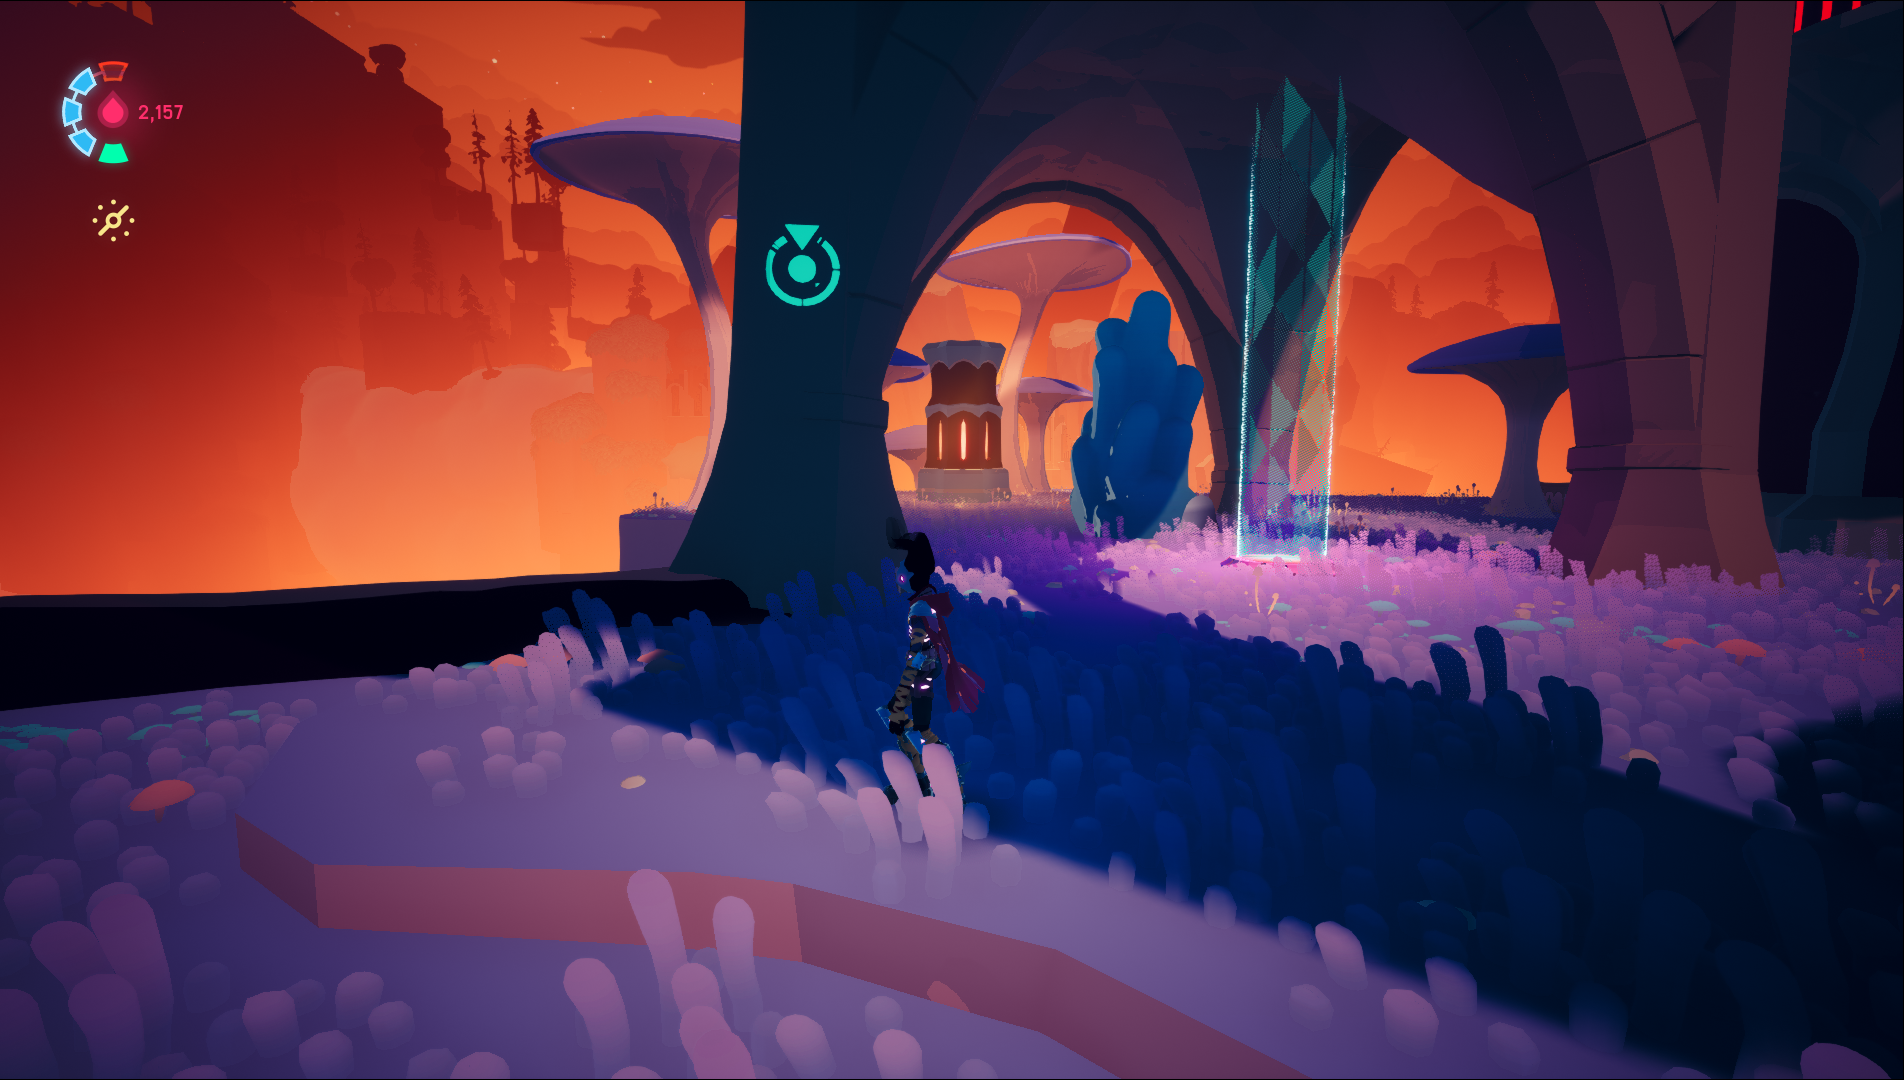
6th Stash: In the area leading towards Cyd, there is an area you can go to with an anomaly on top of a large tower. To get up the tower you hit one of the mushrooms that spits out the long rail. At the top, drop back down onto the roof above the mushroom to find this Stash.

By Kakuchopurei|September 20, 2018
Tokyo Game Show 2018 Day 1 is done and over with. And boy did we have a ton of awesome news and game announcements to contend with. While it's mostly...

By Lewis Larcombe|July 30, 2024
The first gameplay trailer for Harry Potter: Quidditch Champions has been released, showcasing a mix of beloved characters and a gameplay mechanic tha...

By Alleef Ashaari|November 22, 2024
Today, Ubisoft announced that Star Wars Outlaws is now available on Steam. The first story pack, Star Wars Outlaws: Wild Card, is also available toda...

By Jonathan Toyad|April 9, 2025

By Kakuchopurei|April 2, 2025

By Kakuchopurei|March 31, 2025

By Jonathan Toyad|March 28, 2025

By Kakuchopurei|February 17, 2025

By Ali'sha Harris|February 16, 2025

By Jonathan Toyad|April 28, 2025

By Jonathan Toyad|April 26, 2025

By Jonathan Toyad|April 25, 2025

By Jonathan Toyad|April 9, 2025

By Kakuchopurei|April 2, 2025

By Kakuchopurei|March 31, 2025

By Jonathan Toyad|March 28, 2025

By Kakuchopurei|February 17, 2025

By Ali'sha Harris|February 16, 2025

By Jonathan Toyad|April 9, 2025

By Kakuchopurei|April 2, 2025

By Kakuchopurei|March 31, 2025

By Jonathan Toyad|March 28, 2025

By Kakuchopurei|February 17, 2025

By Ali'sha Harris|February 16, 2025
Copyright @ Kakuchopurei 2025