
Write what you are looking for and press enter to begin your search!
Live News


Sea of Stars: All Rainbow Conch Locations
 ">
">
By KakuchopureiVerified|September 1, 2023|1 Comment
Sea of Stars is out right now for PC and consoles; it’s the dream 90s-style JRPG you’ve always wanted to play. Featuring lovely sprite art, an engaging story, and fun timing-based turn-based combat, you can’t find any traditional JRPG experience quite like this, with massive polish to boot.
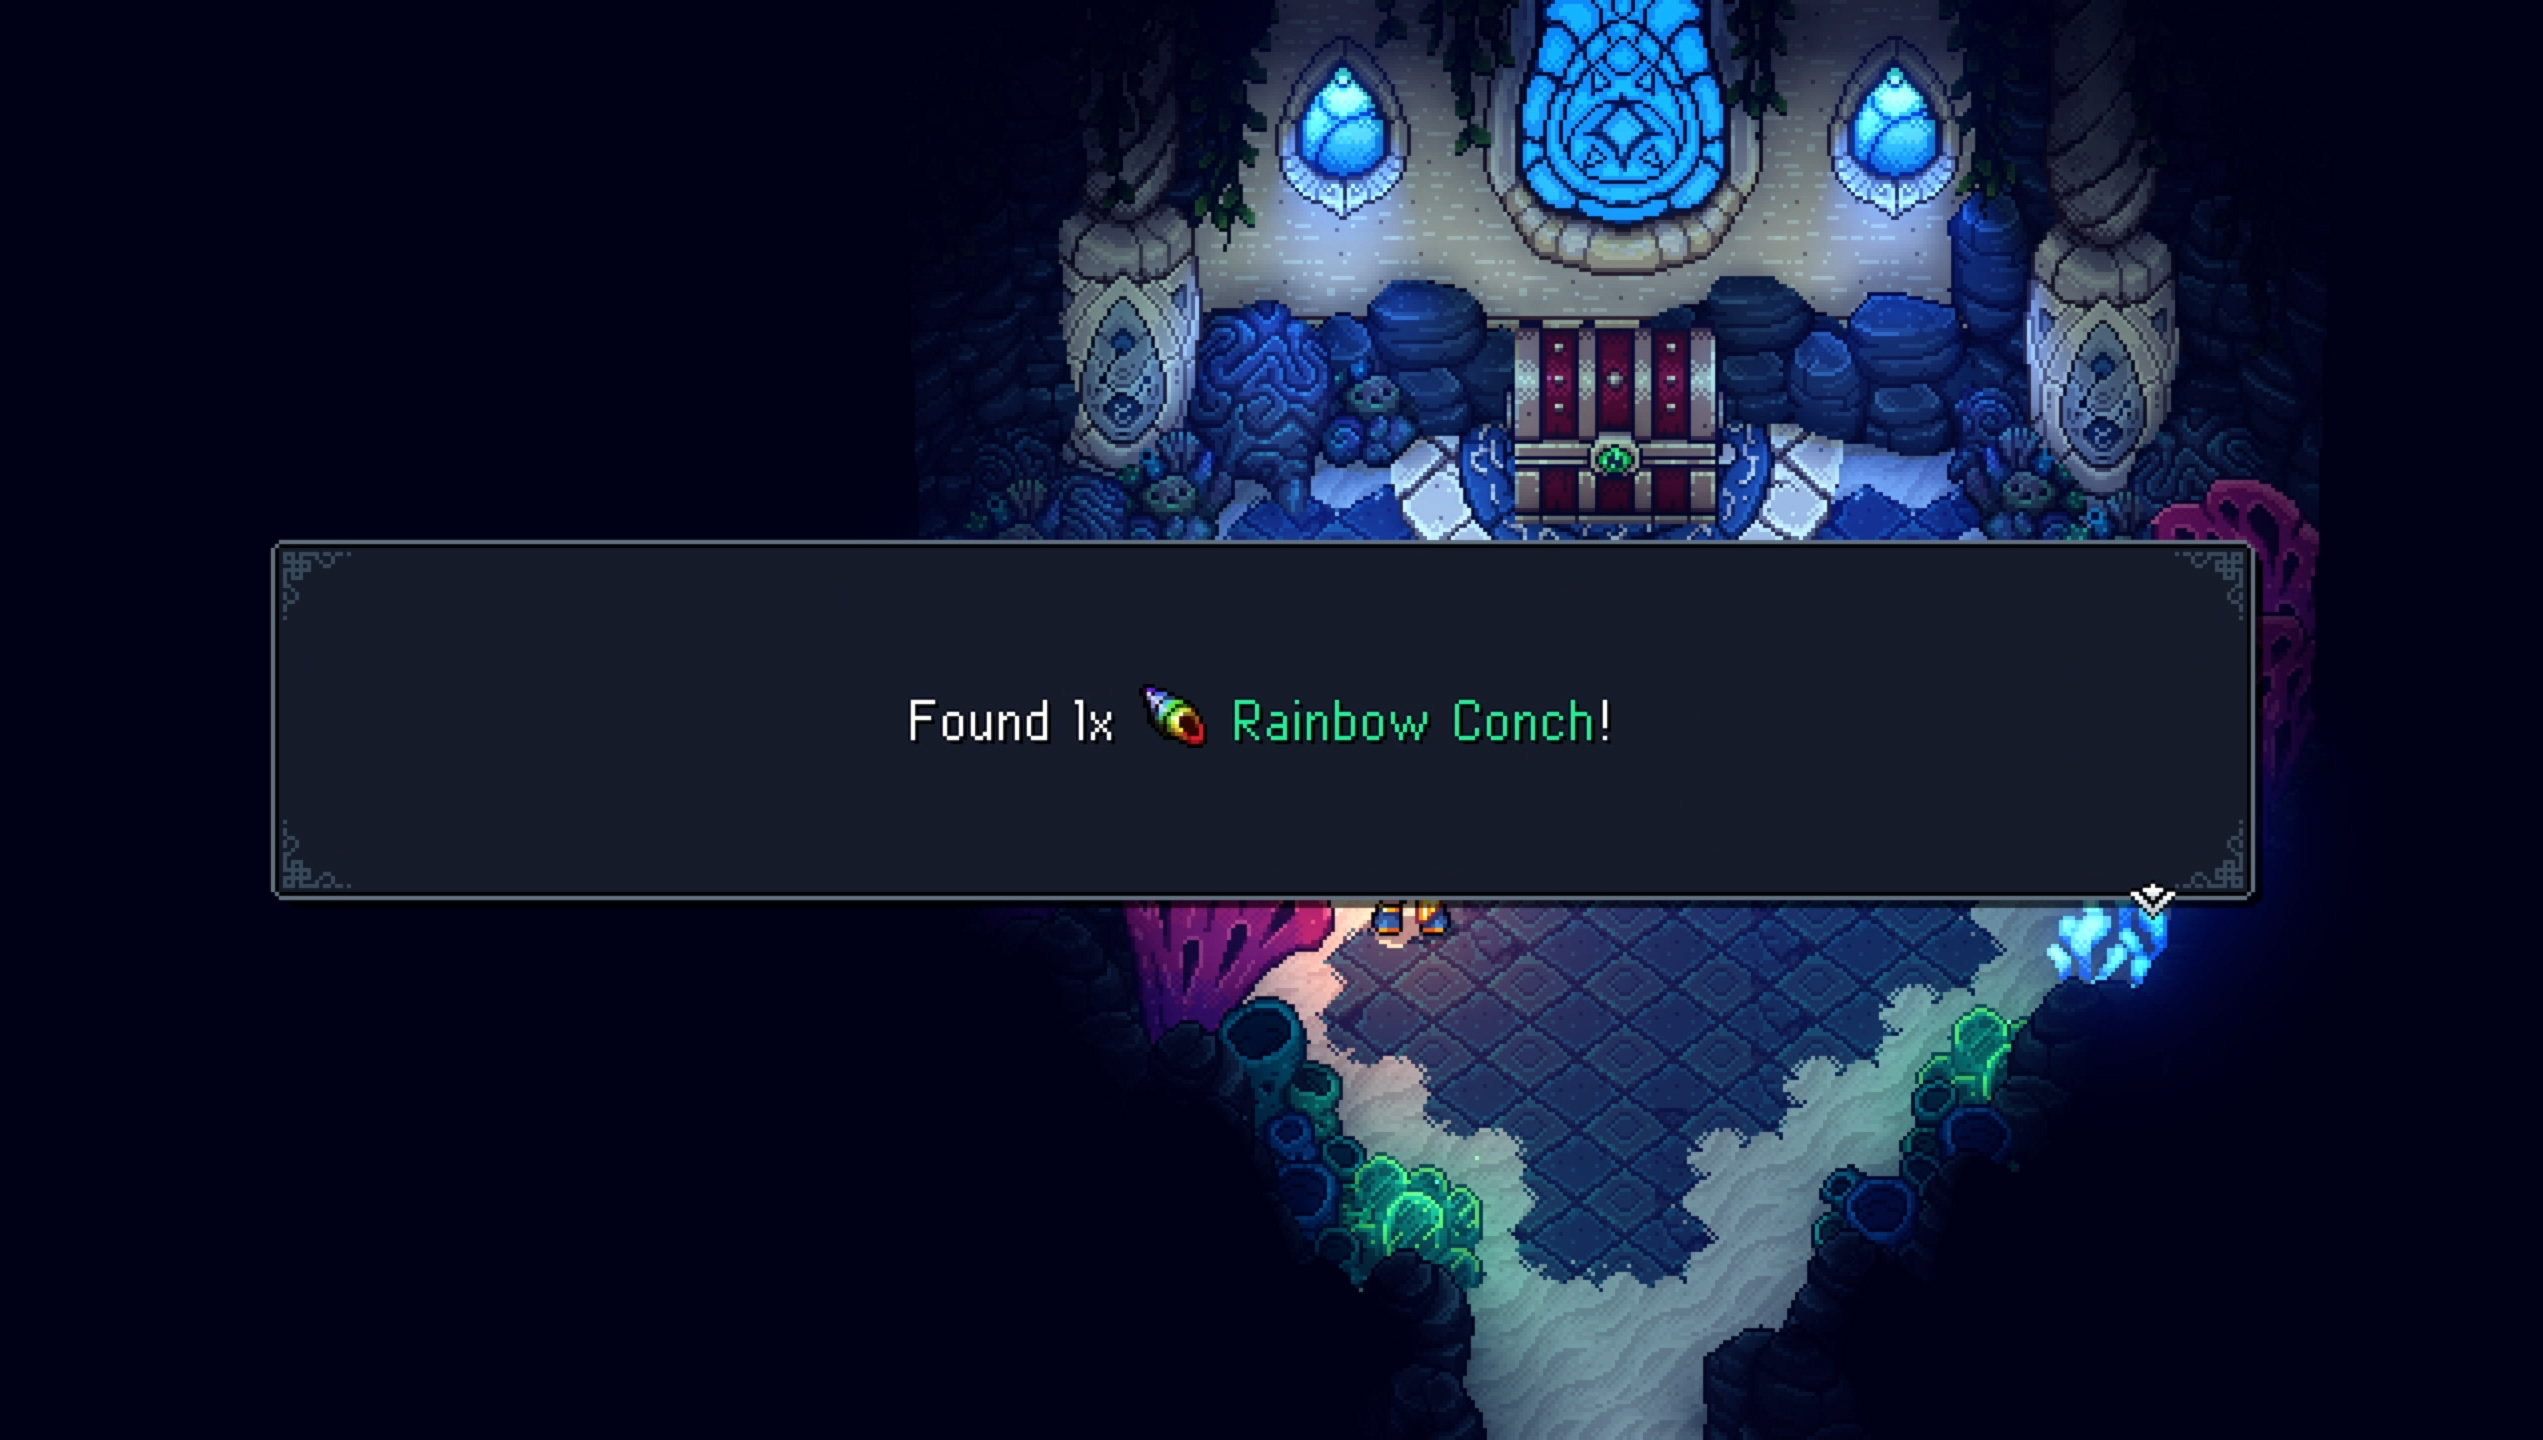
One of the game’s sidequests involves you looking for these special items called Rainbow Conches. These items are in yellow-and-blue chests that are scattered all across the world of Sea of Stars. They’re also rewards for doing sidequests in the game’s major towns.
Later when you reach Docarri Village, you’ll come across a kid named Mirna who collects Rainbow Conches. He will give you rewards for finding them; the more you find and trade, the better the rewards. Plus, it’s also one of the prerequisites to unlock the game’s true ending.
Here’s a list of the Rainbow Conch rewards you can get, as well as their locations. Keep in mind that we will have to delve into late-game areas for this, so here’s your spoiler warning.
Here’s the list of rewards you’ll get from Mirna for turning in Rainbow Conches. For example, if you turn in 4, you’ll get the Inn Plans (and so forth).
We advise you to unlock Flight to access all the areas and go on your Rainbow Conch hunt. Once you have Flight, you have all the traversal abilities in the game.
Disclaimer: this guide will be updated periodically with more Conch chest locations.
Forbidden Cave: Return to the place with the Mistral Bracelet. In the room west of the entrance, push the block to reveal the chest.
Elder Mist Trials: Once you have the Mistral Bracelet, head to the westmost portal. Push the pillar to reveal the Conch chest.
Mooncradle: We assume you have the Mistral Bracelet at this point in the game. In the southeast corner, push leaves to one spot for the man. He’ll reward you with a Conch.
Mooncradle: With Mistral Bracelet in hand, head to the west part of the entrance. Push the tall crates to destroy the tallweeds in the small field. Speak to the man in the barn to the south; he’ll give you a Conch.
Mountain Trail: Head to the east of the entrance; climb the first ladder you see. Then head east and use the Graplou to cross the gap.
X’tol Landing: Hidden in the southwest part of the area.
Moorlands: Once you have the Mistral Bracelet , head to the area before the pond. Push the green crystal using your wind powers and push it to the pedestal. Then climb up the new pillar and get the Conch.
Moorlands: You need the Cobalt Hammer for this. Break the blue crystals in the middle of the area. There’s a Conch chest waiting behind.
Stonemason’s Outpost: There’s one in the artist’s workshop.
Stonemason’s Outpost: After you clear the Stonemason Outpost Mines, restart the outdoor bath by dropping down into the building in the centre of town, then activating the fan. You’ll get your reward then.
Coral Cascades: Fall down to the eastmost waterfall, then activate the spinner.
Coral Cascades: Drop from a narrow waterfall to break the crack in the ground.
Brisk: There’s a Conch chest south of the entrance, near a Molekin.
Brisk: Win Mr Chest’s game five times. He’s in a house near the center of town.
Brisk: Talk to the two Molekin children at the southeast beach.
Brisk: Head to the southwest waters and swim to a fishing father and son. Give them 30 fish fillets and they’ll give you a Rainbow Conch.
Brisk: Swim under the docks; there’s a hidden market with a chest inside.
Brisk: Once Brisk is rebuilt, speak to the ice-cream-eating Molekin at the docks. Head to the Stonemason Outpost and speak with the painter. Return to Brisk and speak to the painter once more for your Conch.
Brisk: After Brisk is rebuilt, head behind the new arena. There’s a hidden path in the rubble that leads to a small room with a chest.
Abandoned Wizard’s Lab: Mix the blue and green crystal to make a teal portal. The Conch chest is under the dock at the water.
Abandoned Wizard’s Lab: Mix the red and green crystal to make a yellow portal. Solve the pathway puzzle to get to the Conch chest.
Wraith Island Docks: Head to the tree-root bridge. Jump down into the mist to find a hidden chest.
Town of Lucent: Speak to the portrait in the house to the east of the entrance. Then speak to the portrait’s brother in the house to the north. Then, return to the first portrait; give it a Berry Jam. It’ll give you a Conch.
Town of Lucent: Head to the locked shack. To the south, jump to the water and swim up behind it. There’s a hidden Conch chest there.
Cursed Woods: Just before the campfire, head to a short tree trunk bridge leading to a secret area to the left.
Flooded Graveyard: Next to the skull entrance to the Necromancer’s Lair. It’s floating in the water and to the right.
Haunted Mansion: It’s blocked in the kitchen area. Press a button under a pot in the garden to reveal a hidden path to the kitchen area.
Half-Sunken Tower: You need Flight to reach this part. This is part of the Duke quest involving Romaya. Solve the puzzle at the island north of Wraith Island first. Then you’ll eventually unlock the Half-Sunken Tower. Use the wooden raft to float to the south dock, where the Conch chest awaits.
Mirth: There’s a Conch chest on the roof of the building next to the save point.
Mirth: Once you built the Fishing Hut, swim out to the fishing pond to find a Conch chest there.
Ancient Crypt: There’s a Conch chest hidden behind the eastmost pillar in the entrance.
Jungle Path: Activate the light puzzle using the Solstice Bracelet; align the three mirrors within the area. Once you align them correctly, the beam will hit the stone head and will open, leading you to a cave with a Conch chest.
Lake Docarria, Underwater: Head to the southeast house. Hop in the whirlpool and swim up to another house. There’s a Conch chest there.
Lake Docarria, Underwater: Head to the whirlpool in the merchant’s house. Take the secret whirlpool that’s hidden up a small passage to the north. This will lead you to an exit where a Conch chest awaits.
Lake Docarria, Underwater: Help the grandfather located at the south of Mirna’s Conch shop by finding his three children hidden in the village. Take whirlpools and search for them in the houses. Once found, he’ll give you a Conch.
Sacred Grove: This Conch chest is hidden beneath a short waterfall after the light puzzle.
Antsudlo: Found at the end of the tube of water that sends you to different areas. Get both valves in the general area, lower the water, and exit through the southwestern door. This brings you back to the central room. Re-enter the area and jump down to get the Conch.
Glacial Peaks: In the area with several block-based light puzzles, melt the large block of ice. Then climb down the ladder. Head to the left to find a Conch chest.
Torment Peak: After the first campfire, climb down the vines to the west and follow the path to a gore-filled cave. There’s a Conch chest there.
Mossy Cache: There’s a chest hidden in the northeast corner of the place.
Autumn Hills: Climb the trees; you’ll find a Conch chest hidden to the west.
Bamboo Creek: Head to the small pond here. There is a hidden area to the east of Lake Turquiose on the world map.
Songshroom Marsh: The Conch chest is hidden behind Yomara’s house.
Clockwork Castle: There’s a room with a pushable block with a ladder attached to it. Finish the puzzle to lower the bars obscuring the Conch chest.
Cloud Kingdom: Rest at the inn; the Conch chest is there.
Cloud Kingdom: There’s a Conch chest hidden behind a pillar in the council chamber.
Air Elemental Skyland: There’s a door to a hidden area beneath the light puzzle that’s after the campfire.
Derelict Factory: After you get the Crane ID, use the crane to grab the chest in the northeast corner of the room.
Repine: Get one chest behind the inn.
Repine: Feed the snake robot in the inn food it asks. Keep at it: it’ll give you a Rainbow Conch for your troubles.
Repine: There’s a Conch chest in the shop.
Cerulean Expanse: In this desert maze, you need to get directions from a robot in the Repine Inn to access the secret path to this chest. The directions are South, Southwest, Southeast, South.
Throne of the Queen That Was: Near the end of the game, when you camp, talk to Serai and she’ll give you an artefact. Pass it to Teaks and you’ll get a Cerulean Expedition story out of it. Take notes from the story to get the correct directions to access this secret area. The directions are: Northeast, Southeast, Northeast, and East. The Conch chest is west of the save point close to the steps before the tough boss fight.
Seat of the Triumvirate: The chest is at the left of the campfire above a descending set of stairs.
Sky Base: Head to the part where you control the four platforms with the three switches (just one area before the boss). The Conch chest is hidden above the first set of platforms.
Stillpond Island: This island is south of Wraith Island. The chest is in the bushes in the northeast corner.
Kiln Mountain: After the first Save Point, you’ll find a chest blocked by stalagmites. Push the lava boulder to break them and get the chest.
Sunken Docarri Ruins/Sealed Ruins: You need to unlock Flight to reach this place. Complete the light puzzles on the world map after you visit the island north of Sleeper Island. Gather the seals and enter the ruins to defeat the Sea Slug, a reskinned boss from the early part of the game with boosted stats and attacks. After you beat it, there will be a Conch waiting for you.

By Alleef AshaariVerified|July 1, 2022
Ubisoft celebrates the second anniversary of Trackmania with the announcement of an all-new summer season, The Trackmania World Cup 2022, a free week...

By Alleef AshaariVerified|January 27, 2023
With upcoming PC games like Dead Space or even the recently-released Forspoken, PC games are getting more and more demanding. We're sure many PC gamer...

By Jonathan ToyadVerified|November 16, 2022
Platform(s): PC (Epic Games Store), Xbox Series, PlayStation 5 Genre: Open-world action adventure starring a goat with no fail state (that we know of...

By Kakuchopurei|March 31, 2025

By Jonathan Toyad|March 28, 2025

By Jonathan Toyad|March 20, 2025

By Jonathan Toyad|March 12, 2025

By Lewis Larcombe|February 25, 2025

By Kakuchopurei|February 17, 2025

By Ali'sha Harris|February 16, 2025

By Jonathan Toyad|March 29, 2025

By Jonathan Toyad|March 29, 2025

By Jonathan Toyad|March 29, 2025

By Kakuchopurei|March 31, 2025

By Jonathan Toyad|March 28, 2025

By Jonathan Toyad|March 20, 2025

By Jonathan Toyad|March 12, 2025

By Lewis Larcombe|February 25, 2025

By Kakuchopurei|February 17, 2025

By Kakuchopurei|March 31, 2025

By Jonathan Toyad|March 28, 2025

By Jonathan Toyad|March 20, 2025

By Jonathan Toyad|March 12, 2025

By Lewis Larcombe|February 25, 2025

By Kakuchopurei|February 17, 2025

By Ali'sha Harris|February 16, 2025
Copyright @ Kakuchopurei 2025
Sea of Stars True Ending Guide & Walkthrough | Kakuchopurei
September 2, 2023 at 6:03 pm
[…] -Defeat the secret boss in the secret Docarri sunken ruins. You have to collect all three shards in three separate sunken Docarri ruins. -Complete the Dweller’s Fall Arena challenges in the town of Brisk. -Defeat the secret boss in the Cerulean Expanse. You need to get protips on getting to the secret area from one of Teaks’ stories. -Free Duke Aventry in the Flooded Graveyard. You need to open up Romaya’s secret passage on an island north of Wraith island. -Complete all 5 Solstice Shrine puzzle trials. Then head to Mountain Pass and enter the newly-opened Solstice gate portal. -Find all Rainbow Conches on both world maps. Use this guide we did to get you started. […]