

Write what you are looking for and press enter to begin your search!

Live News
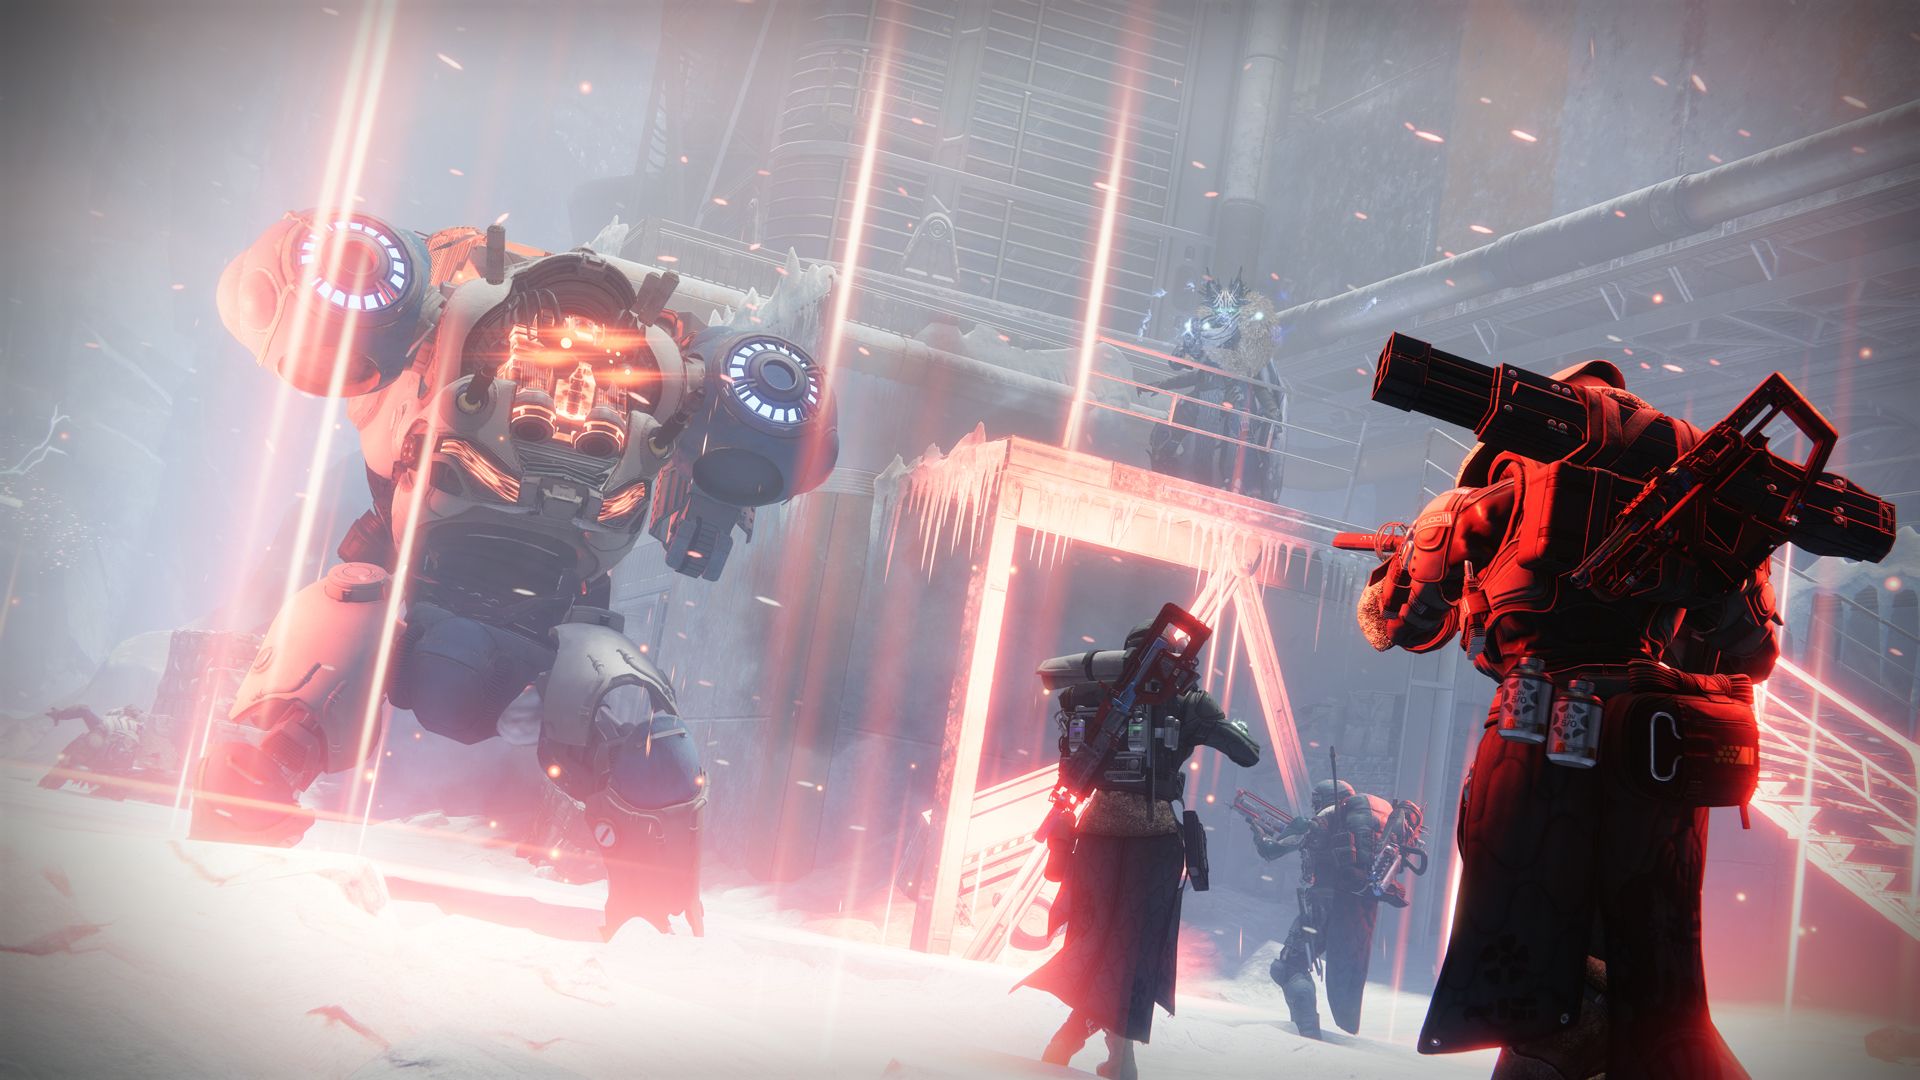

Destiny 2 Beyond Light Deep Stone Crypt Raid Guide
This week’s going to be a big one for Destiny 2 fans; the Deep Stone Crypt Raid is available for play right now. It already has its World’s First teams who finished it around 5 hours, but that doesn’t mean you shouldn’t take a shot at it.
After all, the best loot is usually in these 6-man missions. For Destiny lore hounds, you’re essentially going to the original source of the Exos race. Here’s how to complete the Deep Stone Crypt (via Reddit’s Destiny 2 raid thread).
Just like previous Raids, this one is divided into Encounters: there are 4 main ones to keep note. We’ll go to each bit one by one, but first:
The Raid’s concept revolves around 3 different roles shuffled around called Augments: Operator, Scanner, and Suppressor.
These roles are present in each encounter, with Suppressor being available only in the 3rd and 4th encounter. After the 1st encounter, every role can be taken by picking up an item dropped by an Operator Vandal, a Hacker Vandal, or Suppressor Vandal. These unique bad guys drop the Operator, Scanner, and Suppressor role respectively.
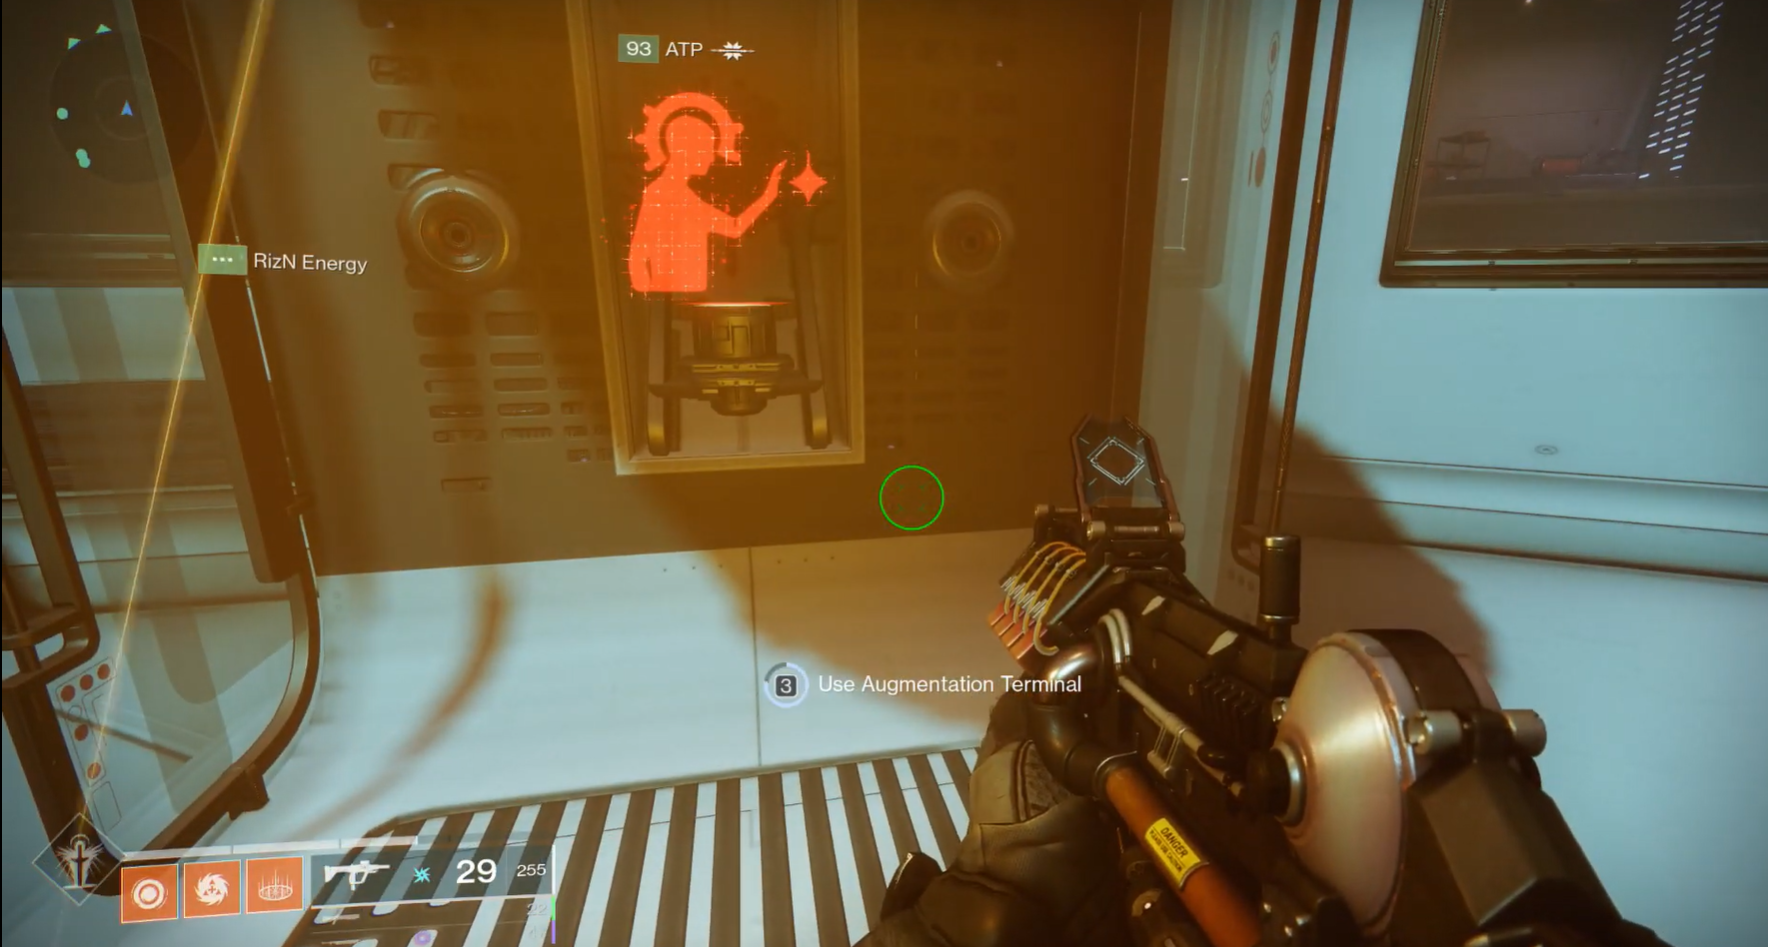
The Operator is indicated by a red icon. Their main purpose is to Operate as they can shoot various raid mechanics to trigger various effects.
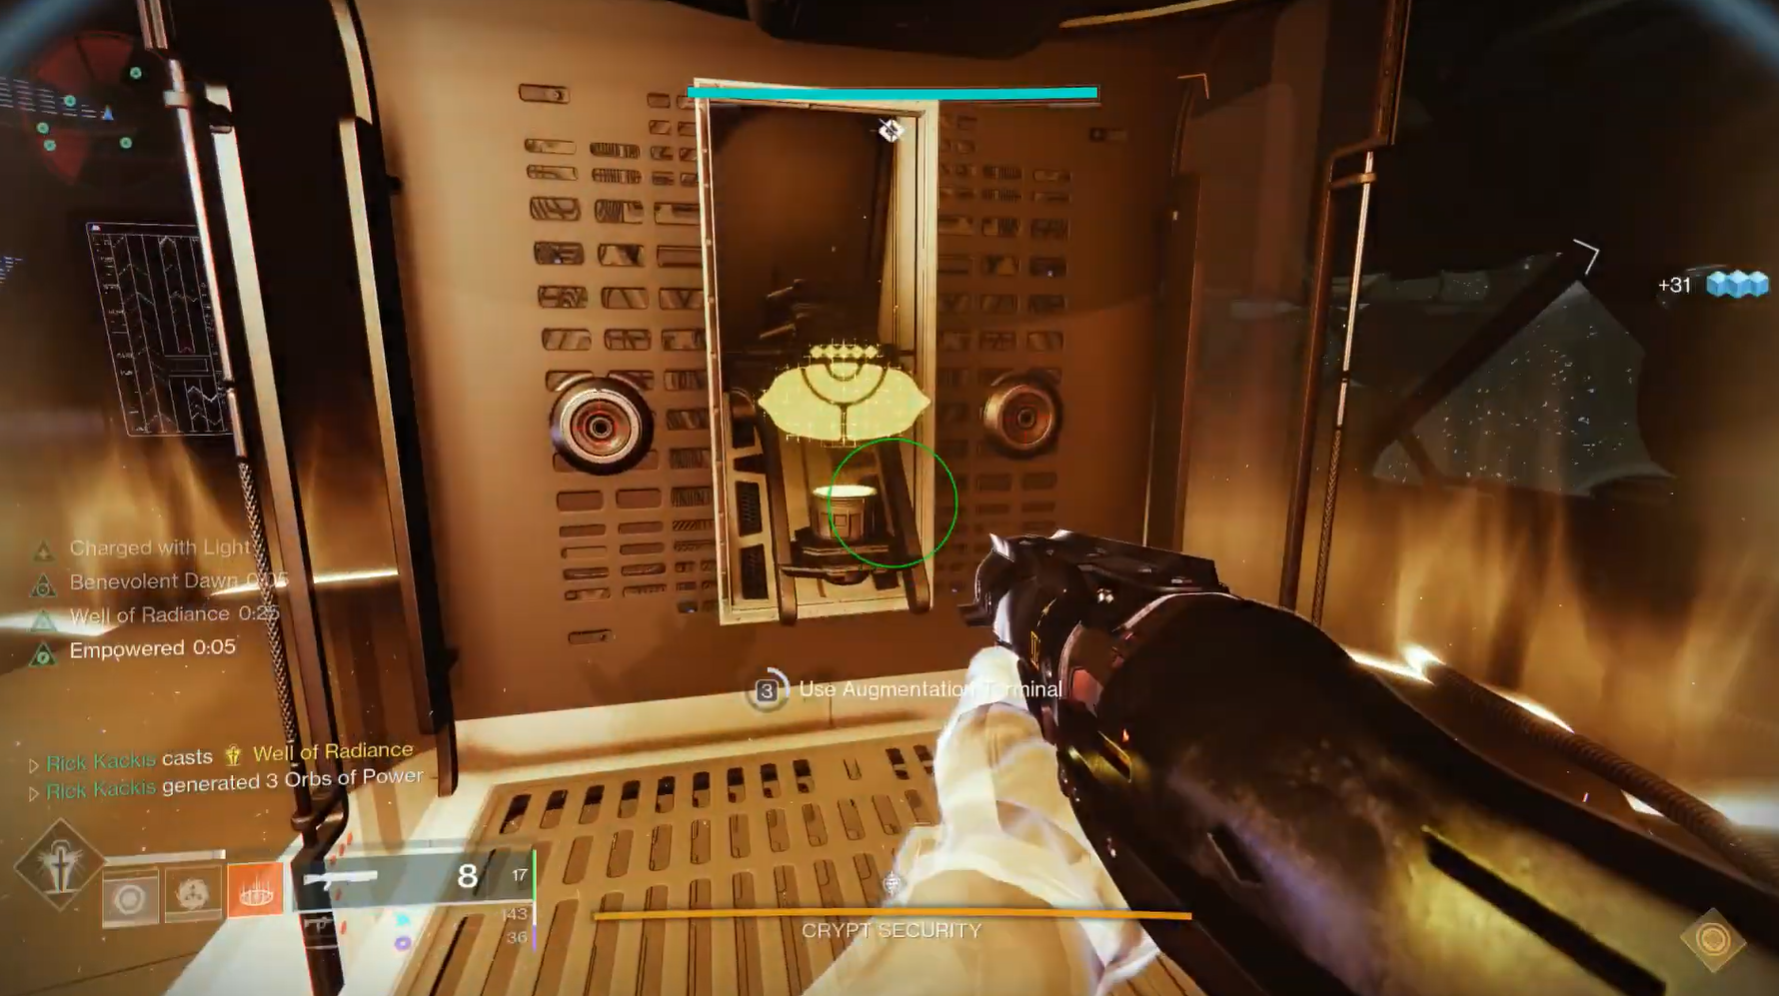
The Scanner is indicated by a yellow icon. Their purpose is to Scan and determine which elements in an encounter are relevant to the team in order to succeed.
The Suppressor is indicated by a blue icon. Their purpose is to Suppress by stunning the bosses in the 3rd and 4th encounter, enabling the rest of the team to proceed with the encounters’ mechanics.
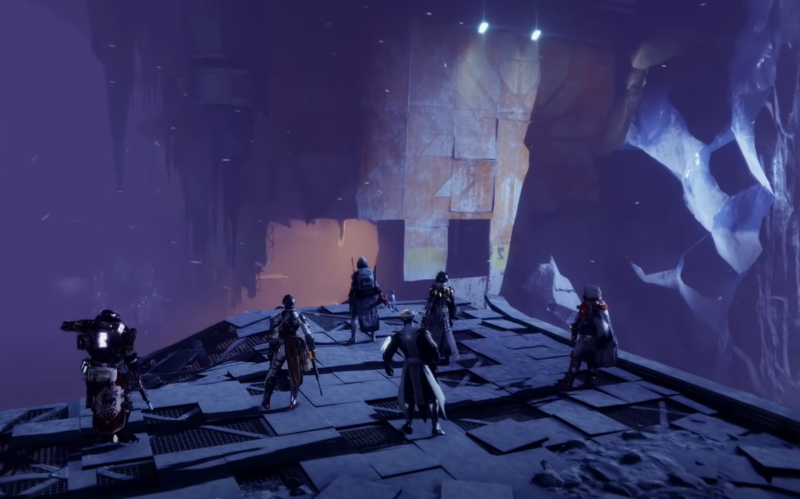
The raid starts out in Eventide Ruins. Head straight ahead via your Sparrow, clear the ads, and proceed through the door. You will eventually enter Desolation after a small airlock. You can use the Pikes if you want.
This intro section will teach you about the Raid’s heat bubbles which serve to shelter you from the blizzard. Your team must navigate between these heat bubbles to stay alive and reach the end of this area.
Standing in the blizzard grants you the Frostbite debuff, which stacks up to 10x. If it reaches that high, you die; simple as that. You can prevent this by entering the heat bubbles, granting you the Shelter from the Storm buff, and slowly removing your Frostbite stacks.
Clear the ads around each bubble as you progress. You can choose to Transmat in the centre of the safe bubbles, which will send you back one checkpoint if you need to help your teammates.
You will fight a few Brigs defending the final bubble. After that, you’ll approach a small airlock that opens to a series of tunnels that lead to Restricted. Continue making your way through these until you reach the entrance to the Deep Stone Crypt. Take a right inside, and you will reach the first major encounter.
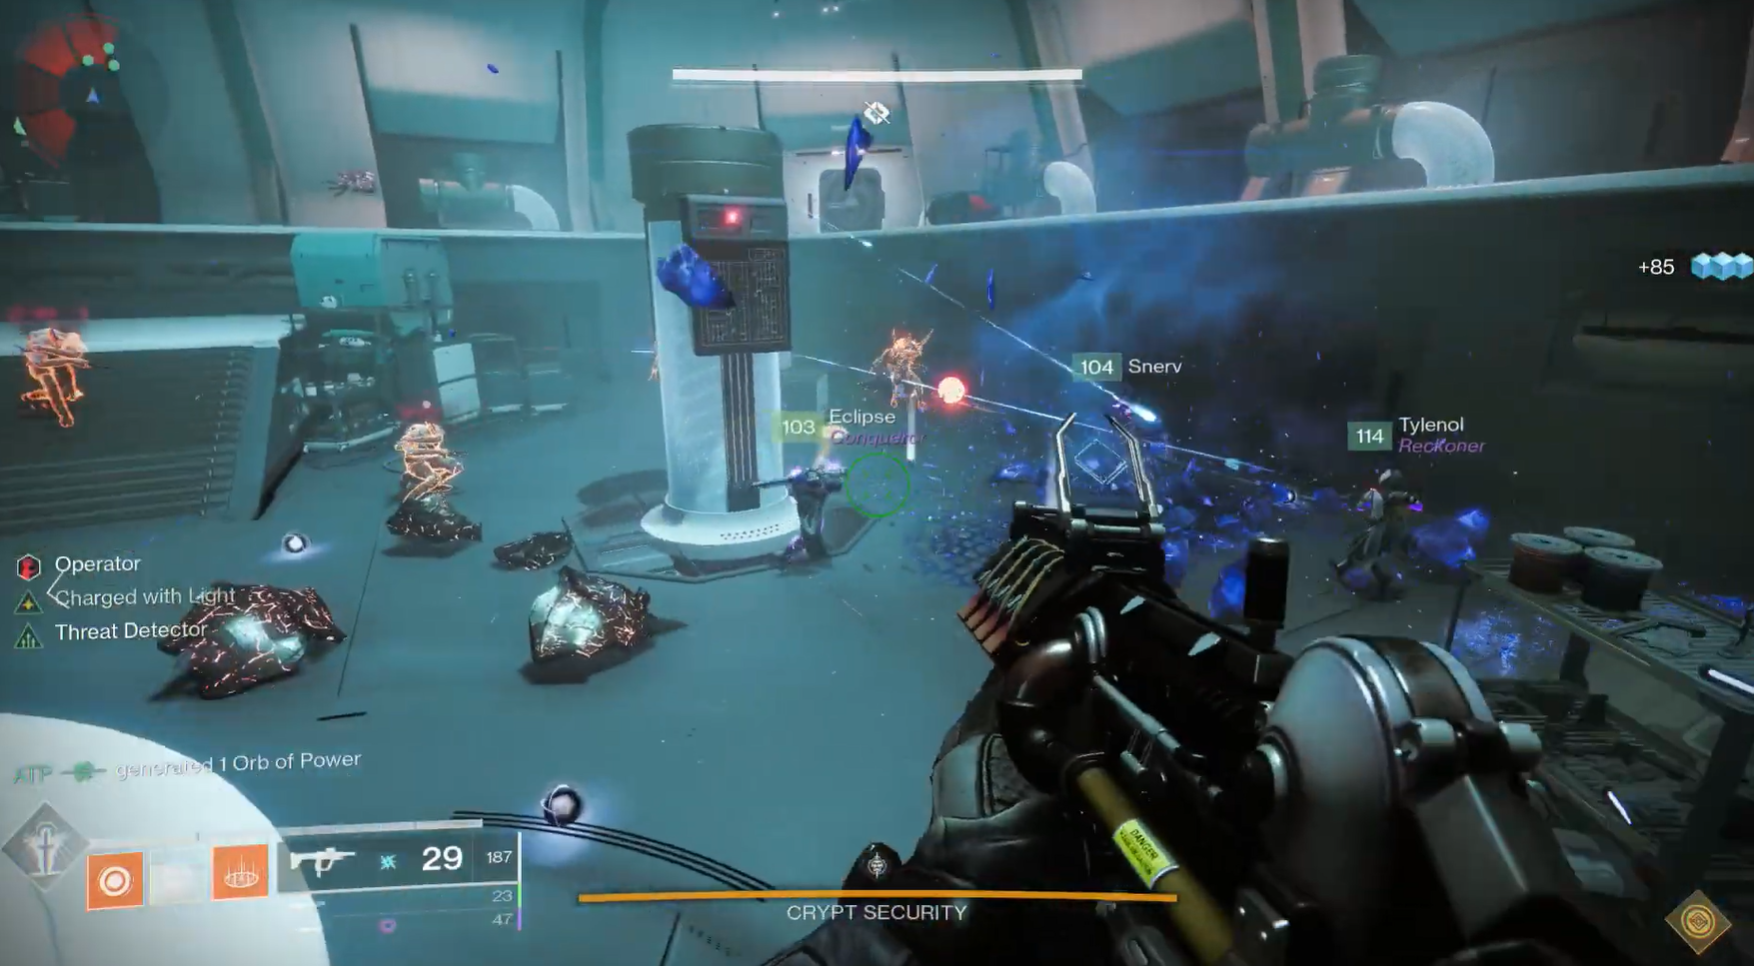
Roles: Operator, Scanner
This encounter revolves around the idea of having your Operator in the basement shooting keypads while Scanners up top guide them.
The room is split into 3 sections: Light (lit side), Dark (unlit side), and Below. Light and Dark each have 4 windows which allow players in either to view keypads below.
Start the encounter by having your chosen Operator pick up the buff from one of the Augmentation Terminals.
This is how the encounter is played out:
A Hacker Vandal will spawn in Dark, from which you can grab the Scanner buff.
The current Scanner looks through their windows to see which 2 keypads are glowing on their side. Once memorized, they pass the role to the other side by depositing it in their Augmentation Terminal.
Once all 4 keypads have been located, the Operator can head Below by shooting the keypads next to the central doors. Only the Operator can enter these, and they will not allow passage if someone else is with them.
When Below, the Scanners guide the Operator to which keypads they need to shoot. Successfully shot keypads will make a sound and show the Operator icon. The Operator has 1 minute to shoot all 4 keypads, or they will be killed.
The 6 Top Fuses will then be exposed to begin the DPS phase, wherein the Operator needs to trade their role with a Scanner via the Augmentation Terminal in the centre of Below, directly in front of the stairs.
The newly-appointed Scanner Below checks all 6 smaller Fuses directly below the top ones and calls out which is glowing. This indicates which the Top team need to shoot. Failure to communicate means a huge risk of a team wipe.
Repeat the last step until each Fuse is destroyed to clear the encounter.
The top Fuses will be shielded again after a short while, so rinse and repeat until the encounter is cleared. In order to get the player Below back out, the current Operator can shoot the keypads next to the doors to release them before they are killed by incineration.
Scanners
Operators
Once you’ve cleared the encounter, a door on the Dark side will open to lead you to the next encounter.
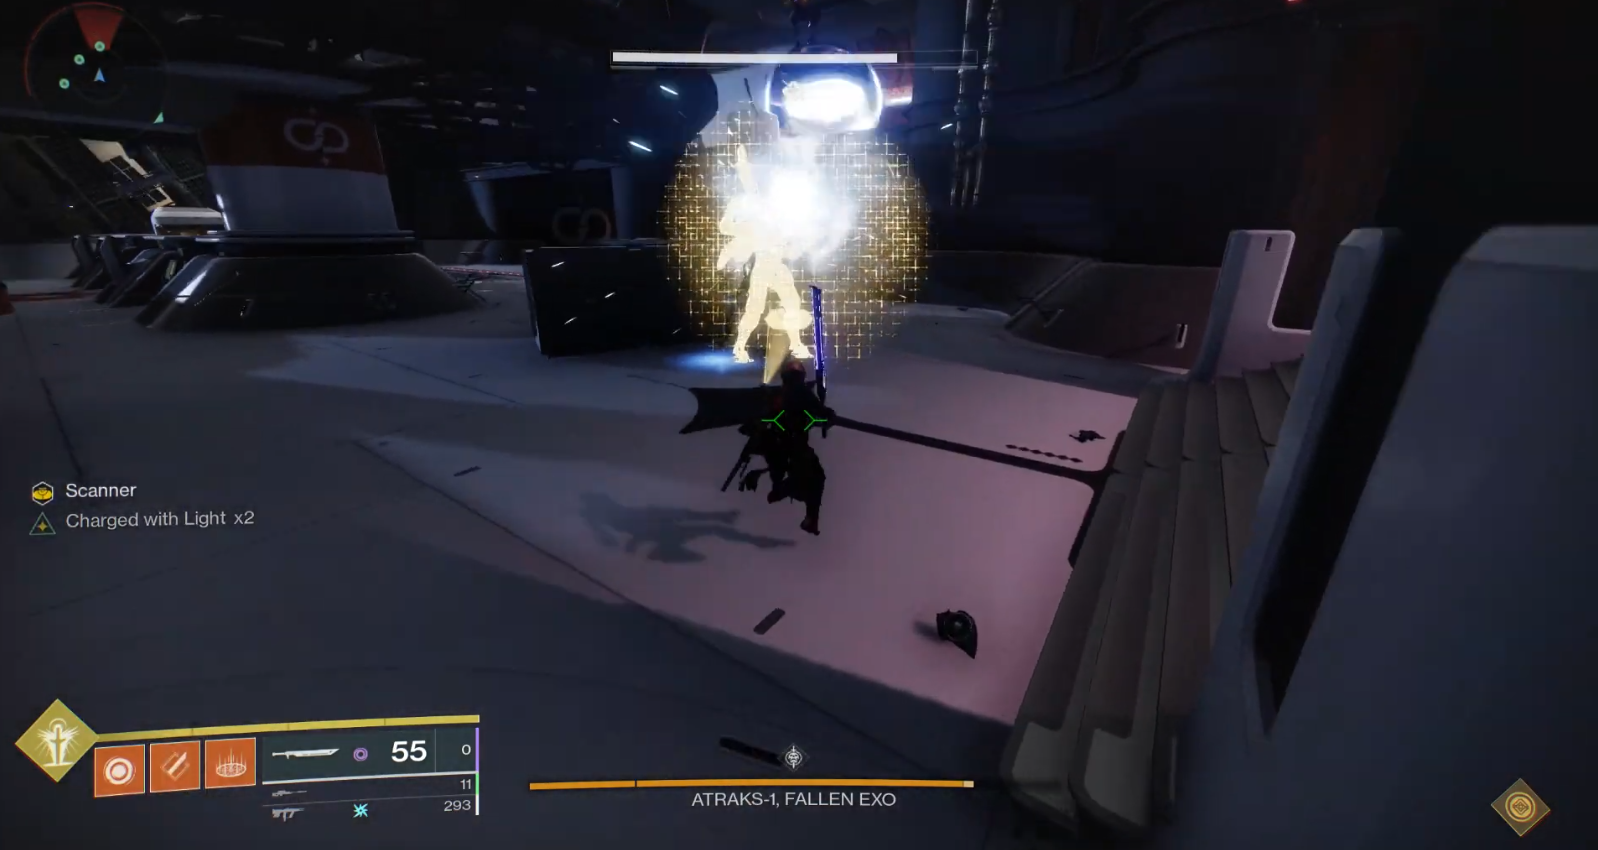
Roles: Operator, Scanner
This encounter revolves around juggling the Scanner role to determine which Replicant of Atraks-1 to shoot. It takes place in 2 distinct areas: Ground, and Space. A majority of the encounter takes place in Space, with 4 airlocks to evacuate Replicants, as well as where the final stand takes place.
You need to decide on 2 teams of 3, a Ground team and a Space team. The encounter starts once somehow walks through the orb at the opposite side of the room from the entrance. Here’s how the encounter plays out:
An Operator Vandal will spawn at Ground, while a Hacker Vandal will spawn in Space. 3 Sentinel Servitors will spawn in each zone too, and serve to advance the encounter. The Space team can either head up directly via the Launch Pods, or wait to grab the Operator role, then head up, and grab the Scanner role as well.
Once Space team has both roles, each team needs to kill all 3 Sentinel Servitors in their area to advance the encounter, wherein the Atraks-1 Replicants will begin casting a wipe mechanic. The Scanner in Space needs to spot which of them is glowing yellow, and call out to their team to DPS only that Replicant. Upon dying, it will turn into a purple cloud, which must be picked up by a Player.
The Scanner then sends their role to the Ground team via any of the Augmentation Terminals available around the room, followed by the Ground team Scanner checking which Atraks-1 Replicant is glowing, DPSing it, and sending the role back.
The Players that ran through the purple clouds left behind the Replicants will have a debuff called Atraks-1 Replication with a 42 second timer. If this counts down to 0, a copy of Atraks-1 will respawn on top of them, and wipe the fireteam. To control this, Players holding this debuff should head to Space, where the Operator can shoot the glow above them to cause them to drop the Replication, and refresh the timer. Protip: The Operator can also call and send Launch Pods by shooting the keypads next to them.
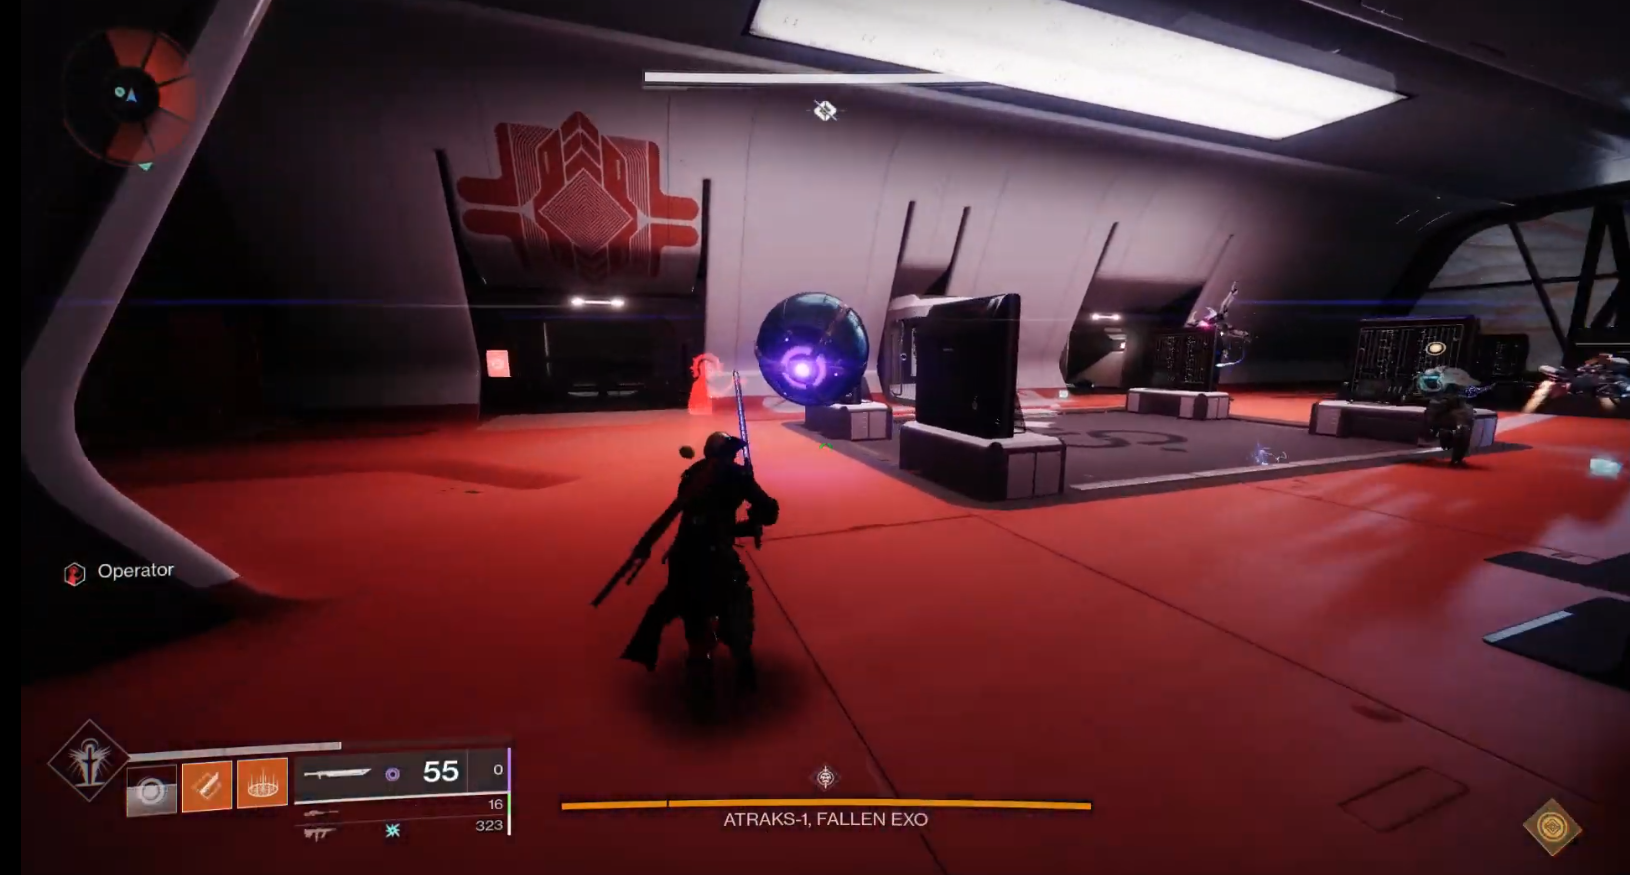
Once two Atraks-1 Replicants have been killed in each section and have their debuffs picked up, all 4 players with the debuff need to group up in front of one of the 4 airlocks in Space. The Operator can shoot the keypad to open the airlock, where all 4 players need to stand inside and allow the Operator to shoot their debuffs to drop them inside, before running out. The Airlocks reset after each set of 4 Replicants, so you could also airlock each player individually instead of 4 at once.
Sentinel Servitors will spawn again, and the killed Atraks-1 Replicants will respawn. Rinse and repeat these steps until you reach the final stand.
The Final Stands occurs in Space, so have all players head up once you reach this point. It’s simply a rapid-fire version of the encounter, without needing to deal with Replications. The current Scanner just calls out which Atraks-1 Replicant is currently glowing for all the team to DPS, then move on to the next Replicant, until the boss is killed, and the encounter is completed.
Operator
The Operator must always stay in Space.
Scanner
A door to the right in Space will open once the encounter is cleared, to allow you to progress further into the raid.
This mid-encounter transition features a jumping puzzle with some combat. Make your way along the catwalks to the other side, killing ads along the way. Clovis AI will spout Destiny 2 lore stuff, all to some exquisite music. The 2nd Hidden Chest can be found here, along the left side of the area, underneath some large fans.
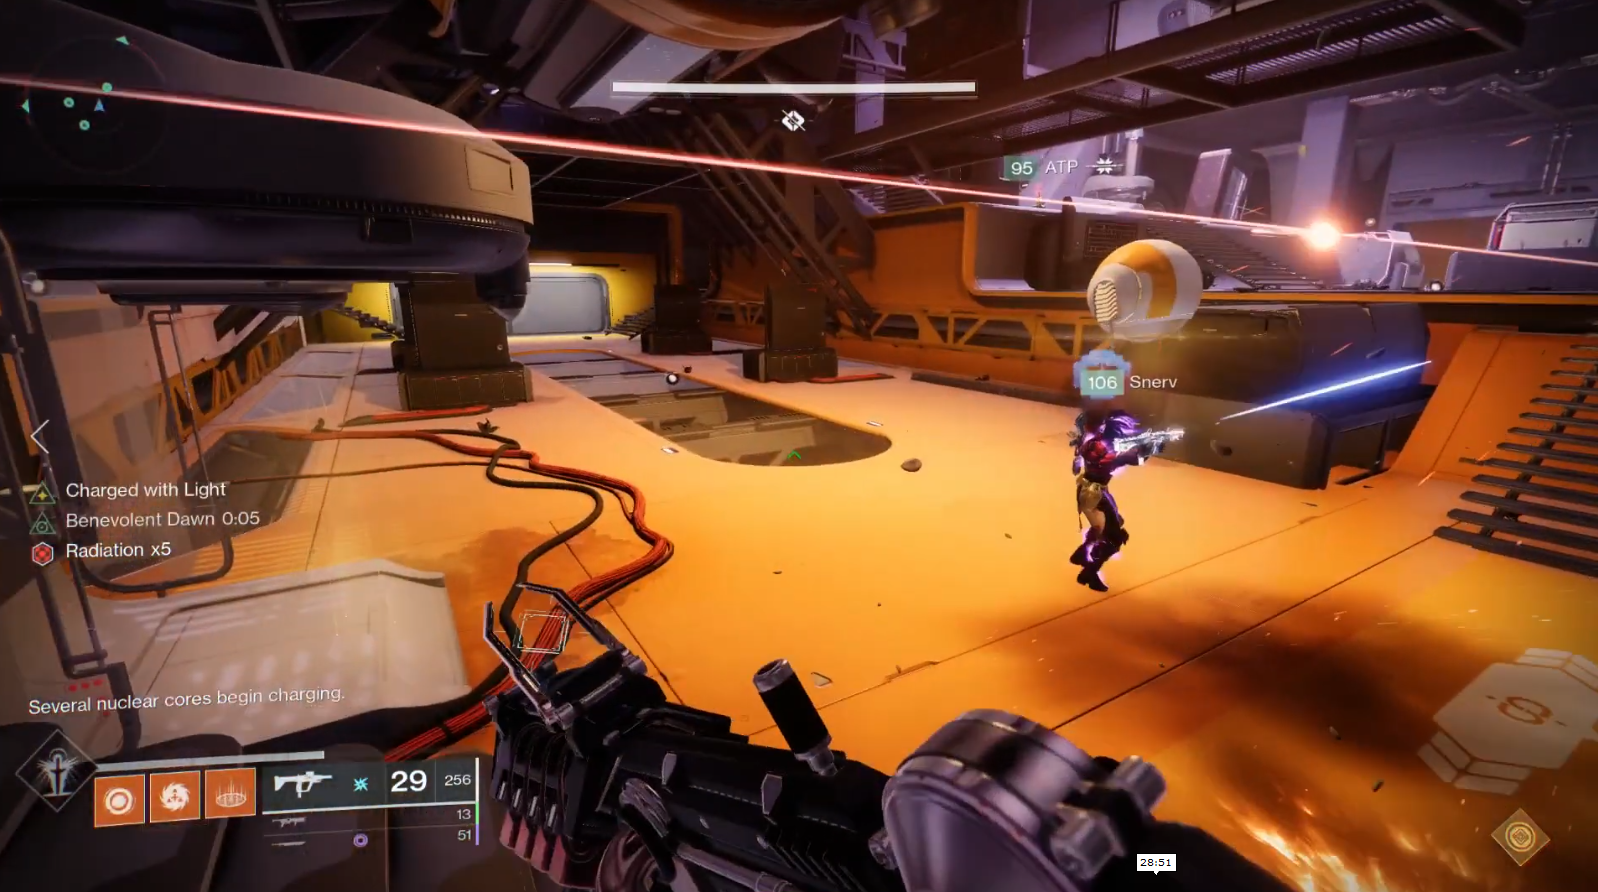
Roles: Operator, Scanner, Suppressor
This is the first encounter that now introduces the Suppressor role. While the purpose of the other two roles is generally the same, there are yet again some differences.
This encounter revolves around juggling Nuclear Cores which give a debuff in order to deposit them and increase the progress of the encounter, no real phases here.
The encounter goes as follows:
The Operator, Scanner, and Suppressor can all be picked up from their respective Vandals that will spawn at the start of the encounter.
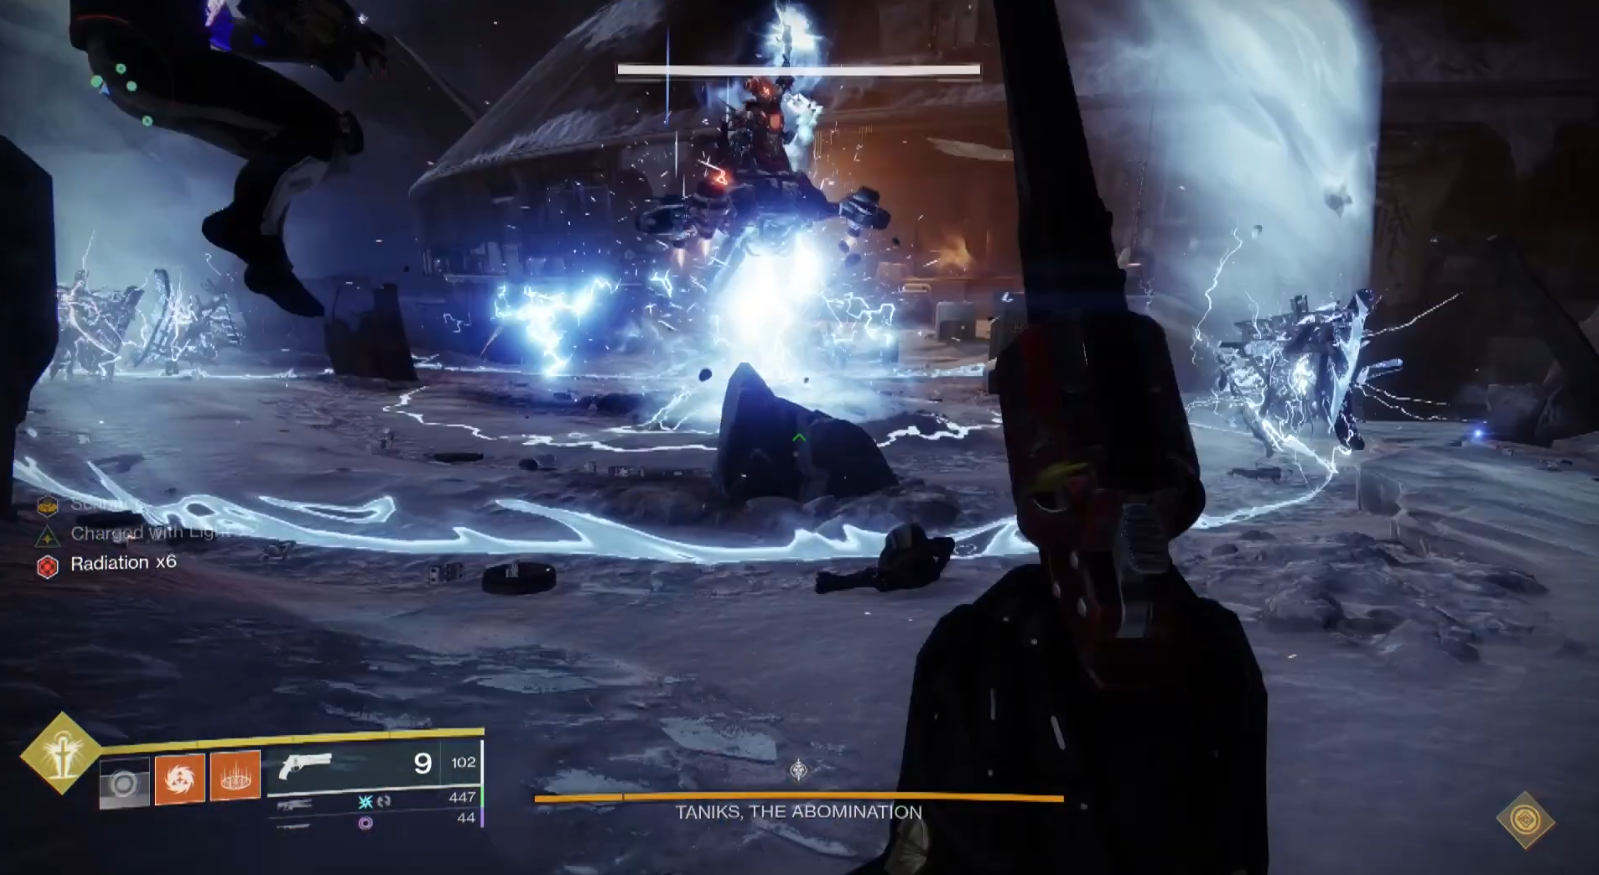
The Scanner checks which 2 of the 4 central bins are glowing: These are where the runners will need to deposit the Nuclear Cores. Meanwhile, the Operator shoots the keypads next to either the left or right Core station, spawning Nuclear Cores for the team. The Suppressor stands ready under one of the 3 Security Drones, from which they can shoot Taniks.
Two players pick up the Nuclear Cores, to then be ready to deposit them in the centre of the room. Carrying a Core gives you the Radiation debuff which stacks up to 10x; you die once it’s at 10x. Manage this by calling out your stacks of Radiation to your team, and if need be, have someone else interact with you to pick up your core.
Passing the core will reduce the Radiation debuff from the previous player; the new guy holding the core will slowly gain Radiation debuff stacks. Stacks of Radiation will decay after a long while, so keep an eye on that if you go to grab a new Core.
Once all the Cores are being carried, the Suppressor must shoot Taniks from under each of the 3 Security Drones, which will eventually stun him, allowing the Nuclear Cores to be deposited into the glowing bins that the Scanner calls out at the centre of the room. Each Bin must receive only one Core. Doing so will advance a progress bar beneath the bins, while also disabling a random Augment. The Player affected by this must drop their Augment at an Augmentation Station to trade it with someone else.
Repeat this 5 more times to unlock the hatch in the centre of the room which leads to the end of the encounter. Once it opens, it’s a sprint to the end of the hallway, as Taniks will be chasing you, and the final door will slowly close. Getting caught by Taniks is an instakill, while missing the door wipes the fireteam.
All roles may have to switch with someone else throughout the encounter, as clearing a set of Nuclear Cores will disable the Augment for a random player.
Operator
Shoot the keypads next to the Core Dispensers to spawn 2 Nuclear Cores for your team.
Operator
Check which 2 Deposit Bins in the centre of the room are glowing, and call them out to your team.
Suppressor
Stand under a Security Drone and shoot Taniks once all cores are being carried. He will glow blue when you are in the correct position.
Repeat for all 3 of the Security Drones in the room.
Core Runner
Grab a Nuclear Core once they’re summoned.
If need be, call out to your fireteam when you’ve got high stacks so that someone else can take over for you.
Deposit the Core in one of the two Depsoit Bins that the Scanner called out.
The encounter is cleared once the Station crash lands on Europa. The loot chest is available in the wreckage to the left.
Roles: Operator, Scanner, Suppressor
The final encounter of the raid. It shares the exact same mechanics to the last encounter for the most part, with some slight added complexity.
The arena is split into 3 sections:Â Spawn, Blue, and Orange. Each section as 2 Deposit Bins like the previous encounter, one to the left, and one to the right, along with 3 Security Drones.
Run near or shoot the piles of debris in the centre of the arena to start the Encounter. Here’s the breakdown:
One Augment Vandal spawns in each section of the arena. Players need to pick up all of these Augments.
The Scanner runs around each section, checking which Bins are glowing, and calling them out to the team. Callouts are usually the area, followed by ‘Left’ or ‘Right’. i.e. “Blue Right, Orange Left”
Taniks will eventually do a Meteor attack (big purple columns), which lets you know that you need to shoot his thrusters. If at least 2 Thrusters aren’t destroyed in time, he will wipe the fireteam. Each thruster will drop 1 Nuclear Core. To facilitate this encounter, it’s recommended to only shoot 2.
Core Holders will get the Radiation debuff that will kill them at 10x stacks. Swap with other players to avoid this. Taniks will also occasionally trap a player holding a Core in a large purple sphere. The Operator needs to shoot this to free them. Try to stay away from the Operator if you’re holding a Core, as it can trap them as well, where they cannot free you.
The Suppressor then stands under each Security Drone, shooting Taniks to stun him once all 3 are activated. This allows the Core Carriers to deposit their Cores in the bins that the Scanner had spotted.
Same as the previous encounter, a random Player will have their augment disabled. Swap with another player via the Augmentation Terminals to mitigate this issue.
Once all 4 Nuclear Cores have been deposited, this begins the DPS phase. Taniks will summon 2 Arc domes around him, the outermost of which has debris flying around its’ outer edge which must be avoided. In order to DPS him, stand between the outer and inner dome. Standing within the inner dome directly below him causes damage, and will likely kill you. He will occasionally knockback the whole fireteam, so be ready to safely jump back in when this happens.
When the DPS phase ends, just rinse and repeat these steps until you reach the final stand.
Once below ~15% HP, Taniks will begin teleporting around the arena, attacking constantly. You can DPS him during this phase, and must deal enough damage to kill him before he wipes the fireteam.
Operator
Shoot the Detention Sphere (purple) when a player gets trapped to free them, while keeping your distance from Core holders, as getting trapped yourself is guaranteed death.
Scanner
Check all Deposit Bins around the Arena for the 2 that are glowing yellow, and call them out to your team.
Suppressor
Stand beneath the 3 Security Drones that activate once the 3 Cores are held to stun him and allow depositing.
Core Runner
Deposit your Core in one of the glowing Deposit Bins that your Scanner calls out, and switch with someone else if your stacks of Radiation near 10x.
The final chest will spawn in the Orange section once the encounter is completed. This chest is unique in that you can choose your reward to receive from it, as well as pay Spoils of Conquest to buy a Crypt Cache that contains your desired loot.
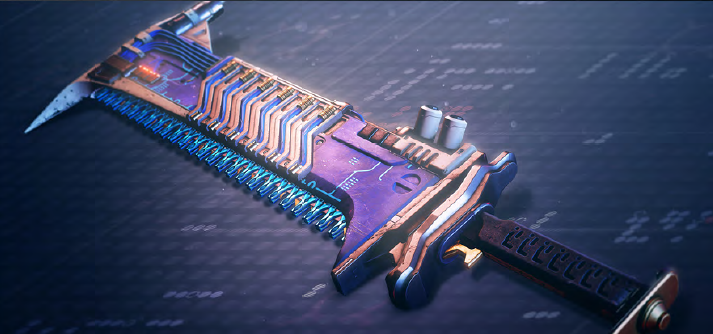
Apart from a cutscene that expands on Destiny 2’s lore, you will get the following:
Thanks to the debris from the Morningstar crash, previous zones in Europa will now have debris falling down. The new missions you get from The Stranger and Variks will net you Legendary rewards.
You can start the Exotic Quest by visiting Banshee-44. To find out more about the new loot, head to our Destiny 2 Beyond Light loot guide.Â
Image credit: KackisHD
By Alisha Alix|January 10, 2024
Publisher Hilltop Studios and developer Versus Evil have announced their anticipated narrative-driven deduction indie game, Lil' Guardsman is coming t...
By Alleef Ashaari|February 17, 2023
2K and Marvel Entertainment have debuted a new trailer for Marvel's Midnight Suns' second post-launch DLC - Redemption and the addition of Venom as a ...
By Alleef Ashaari|November 11, 2020
It's only been a week since Apex Legends launched on Steam on 4 November 2020, and it's already one of the most-played games on Valve's digital platf...

By Mr Toffee|November 20, 2024

By Team KKP|October 29, 2024

By Kenn Leandre|October 25, 2024

By Mr Toffee|October 24, 2024

By Team KKP|October 21, 2024

By Lewis "lickety" Larcombe|September 18, 2024

By Alisha Alix|August 20, 2024

By Alleef Ashaari|July 17, 2024

By Team KKP|July 1, 2023

By Alleef Ashaari|August 2, 2021
By Alleef Ashaari|February 9, 2022

By Mr Toffee|November 20, 2024

By Team KKP|October 29, 2024

By Kenn Leandre|October 25, 2024

By Mr Toffee|October 24, 2024

By Team KKP|October 21, 2024

By Lewis "lickety" Larcombe|September 18, 2024

By Alisha Alix|August 20, 2024

By Alleef Ashaari|July 17, 2024

By Team KKP|July 1, 2023

By Lewis "lickety" Larcombe|November 22, 2024

By Mr Toffee|November 20, 2024

By Team KKP|October 29, 2024

By Kenn Leandre|October 25, 2024

By Mr Toffee|October 24, 2024

By Team KKP|October 21, 2024

By Lewis "lickety" Larcombe|September 18, 2024

By Alisha Alix|August 20, 2024

By Alleef Ashaari|July 17, 2024

By Team KKP|July 1, 2023
Copyright @ Kakuchopurei 2024